Rockpi4/Android
ROCK Pi 4 > Android
Contents
[hide]Work with ROCKPI4Android
Introduction to ROCKPI4Android7
ROCKPI4Android7 is a magical system. It is very easy to use. Equipped with a 4K HDMI monitor, USB keyboard and USB mouse, working with ROCKPI4Android7 is a great experience. You are ale to watch 4K video. What's more, Interactive digital entertainment, education and commercialization activities are available via the network.
By the way, for USB mouse, left single click means OK, right single click means returning to the previous window.
Settings
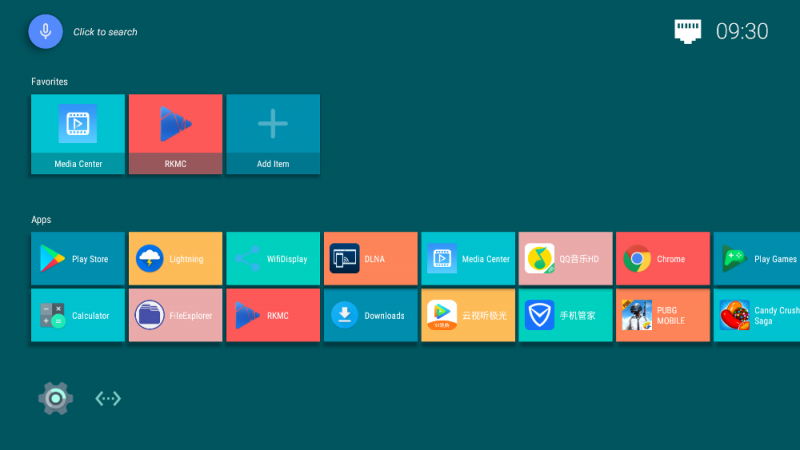
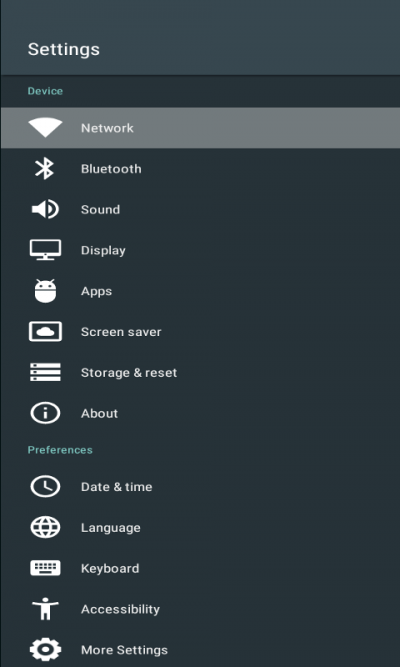
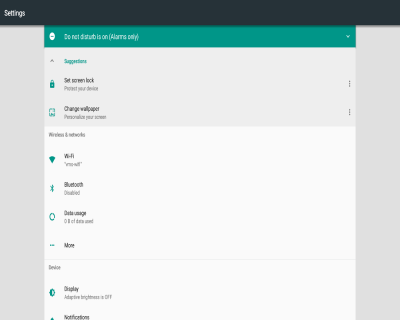
There is a Settings button on the main window. Click on it, and then do the following settings, such as Network, BT, Sound, Display, Date, Time and so on. To do more settings, select the More Settings button.
Ethernet Connection
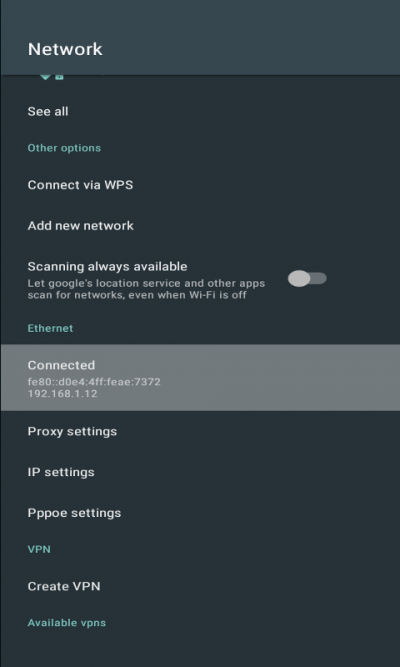
To connect your ROCK Pi 4 to the Internet, you need a network cable. ROCK Pi 4 will automatically configure the network for your surfing on the Internet. On the Ethernet setting window you may see the normal IP address. You can also use application Google Chrome to confirm whether you can access the network.
Click on the Network button and Ethernet item is shown to you. Here, you can encouraged to do:
- setting proxy
- setting IP
- so on
WIFI Connection
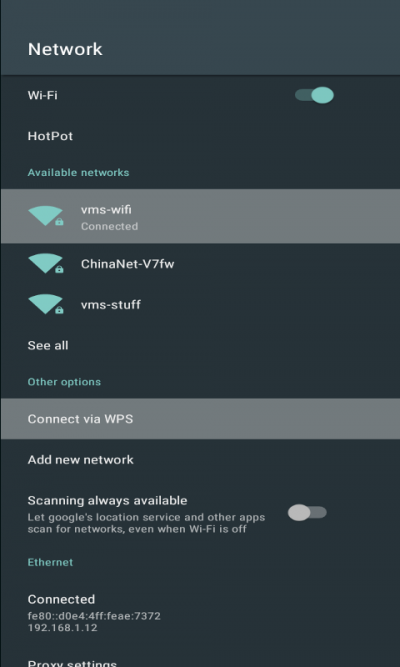
WIFI is another choice for your network connection. 2.4G and 5G WIFI are both supported. Click on Network button and WIFI item is shown to you. Wi-Fi switch button allows you to enable or disable WIFI. Once enable WIFI, hot pots automatically shows. Select your wanted hot pot and input needed password(if necessary).
BT Connection
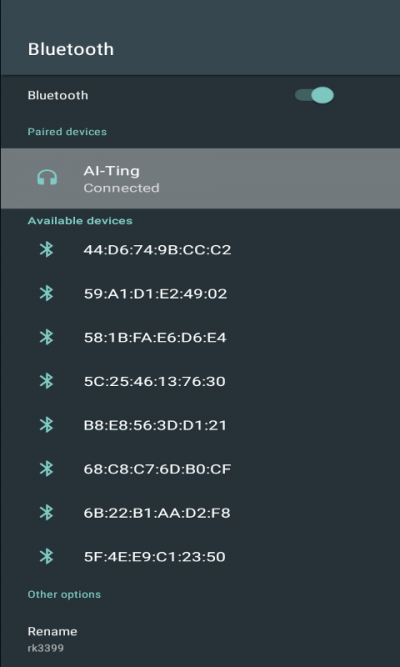
Click on the BT button to switch to the BT window. BT switch button allows to enable or disable the BT . Select your lovely BT device. Waiting for seconds of connection.
Sound Setting
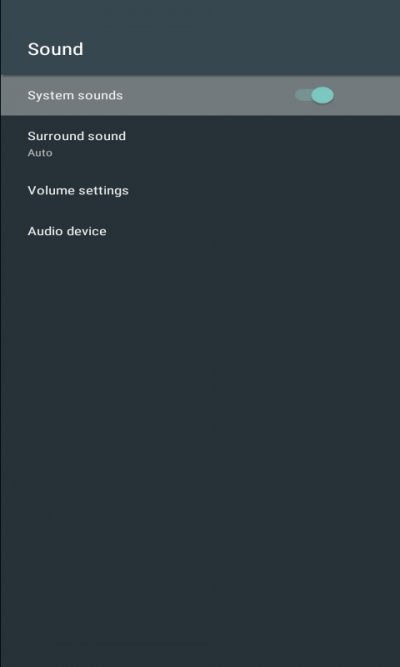
Click on the Sound button to switch to the Sound window. Here setting volume and selecting audio devices are supported.
Display Setting
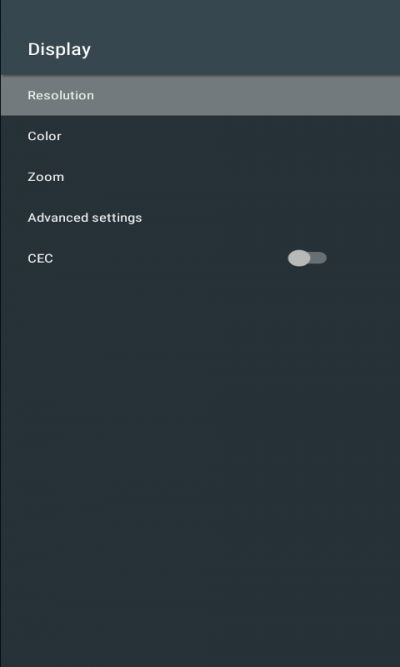
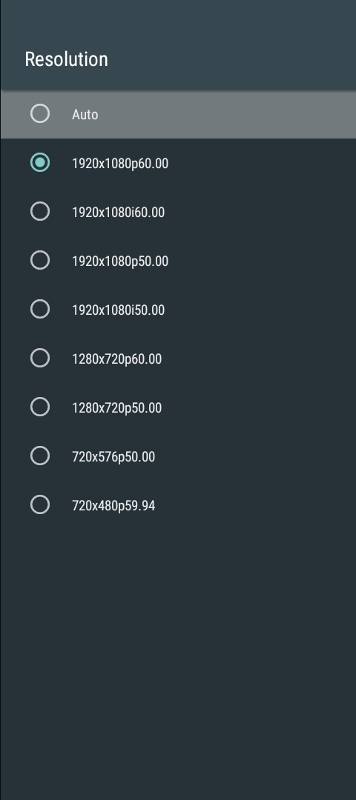
Click on the Display button to switch to the Display window. And click on the HDMI button to HDMI window, which you can set resolution, color, zoom, etc.
HDMI monitor resolution
More Setting
To set more function, switch to the More Setting window.
Applications
On the system, there have been some pre-installed applications. And all installed applications are shown on the main window.
FileExplorer
FileExplorer can access local files stored on the ROCK Pi4, as well as access files on SD and U disk. What's more, it can access files stored on your computer over the network.
- Internal Flash
- It shows files on ROCK Pi 4
- SD Card
- Once TF card device is inserted and recognized, its icon will brighten.
- USB
- Once USB device is inserted and recognized, its icon will brighten.
- NetHood
- When connect ROCK Pi 4 to network, it works. By selecting your target machine IP, you are able to scan the shared files on that machine.
Play Store
Google Play Store covers apps, videos, music, e-books and other digital products.
Browser Lightning
Click on Lightning button, and surf the web. Don't forget to connect the speaker through the audio port on board and/or HDMI monitor. It supports playback of 4k video.
YouTube
Click on You Tube button and enjoy your favorite videos and music. You can upload original content and share them with your family, friends around the world.
Introduction to ROCKPI4 TV version of Android9
ROCKPI4Android9 is a magical system. It is very easy to use. Equipped with a 4K HDMI monitor, USB keyboard and USB mouse, working with ROCKPI4Android9
is a great experience. You are ale to watch 4K video. What's more, Interactive digital entertainment, education and commercialization activities are available via the network.
By the way, for USB mouse, left single click means OK, right single click means returning to the previous window.
Settings
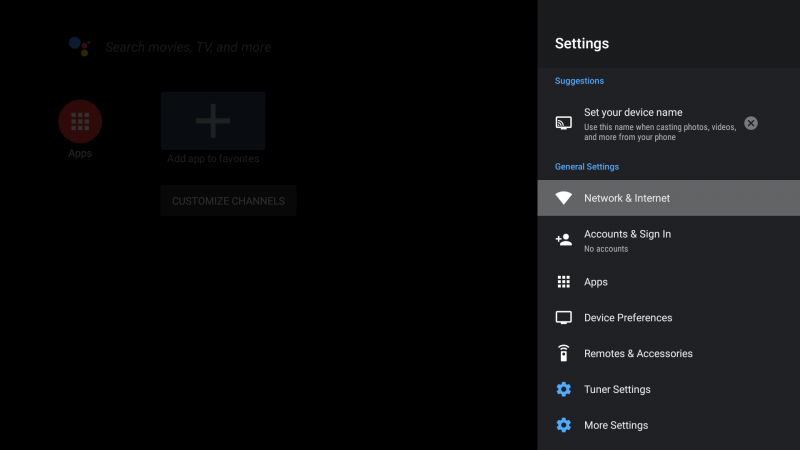
There is a setup button on the main window. Click it, and then set the following settings, such as device name, network, account login,
application, device preferences, remotes, tuner setting and so on. To make more settings, select the more settings button.
Ethernet Connection
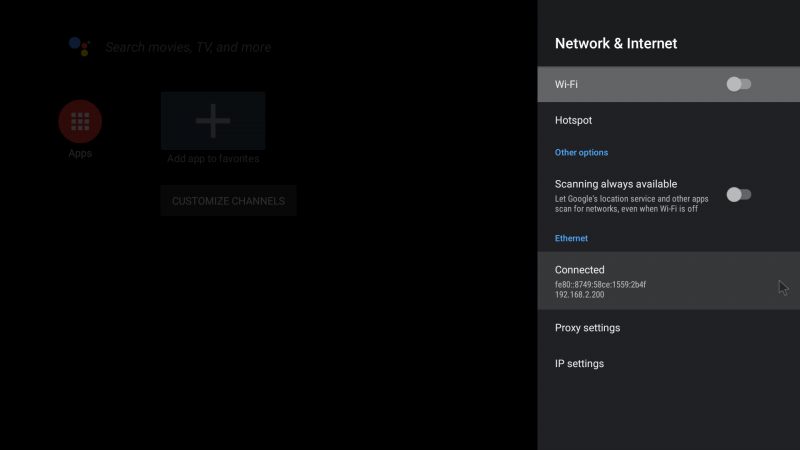
To connect your ROCK Pi 4 to the Internet, you need a network cable. ROCK Pi 4 will automatically configure the network for your surfing on the Internet.
On the Ethernet setting window you may see the normal IP address. You can also use application YouTube to confirm whether you can access the network.
Click on the Network button and Ethernet item is shown to you. Here, you can encouraged to do:
- setting proxy
- setting IP
- so on
WIFI Connection
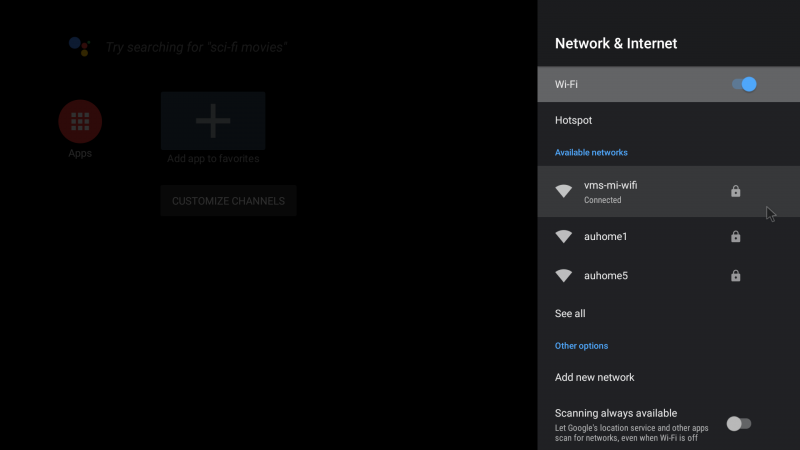
WIFI is another choice for your network connection. 2.4G and 5G WIFI are both supported.
Click on Network button and WIFI item is shown to you. Wi-Fi switch button allows you to enable or disable WIFI. Once enable WIFI,
hot pots automatically shows. Select your wanted hot pot and input needed password(if necessary).
Accounts & Sign in
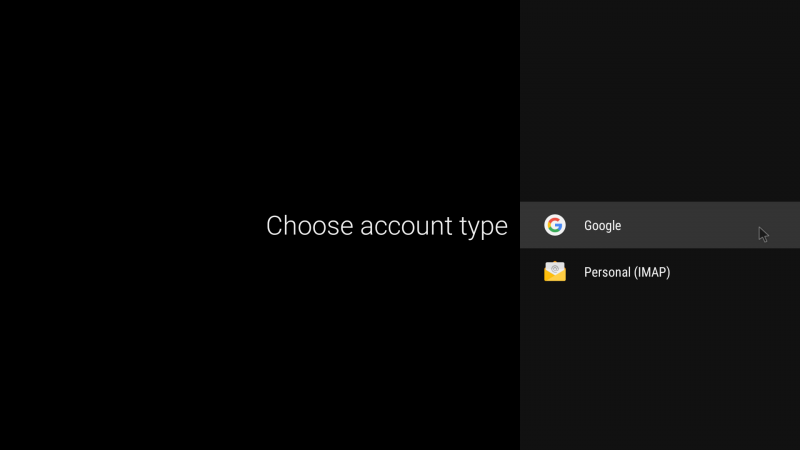
Click the accounts & sign in button to switch to the accounts & sign in window. Then select the account type to sign in.
Apps option
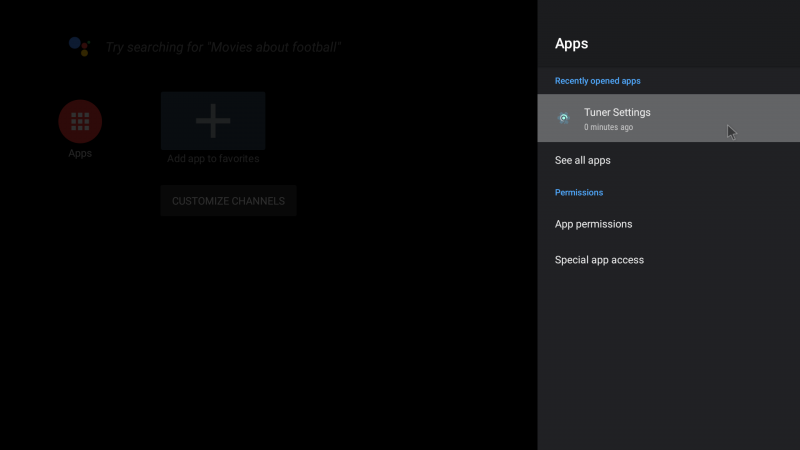
Here you can view the programs you have recently opened, and you can set various permissions for these programs.
Device Preferences
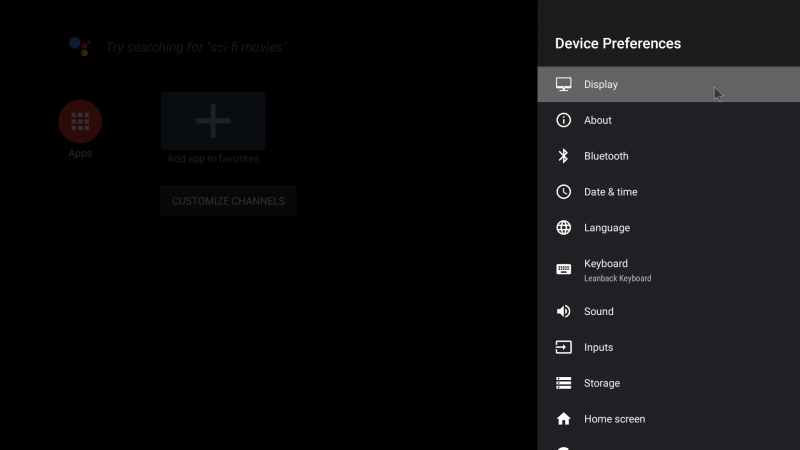
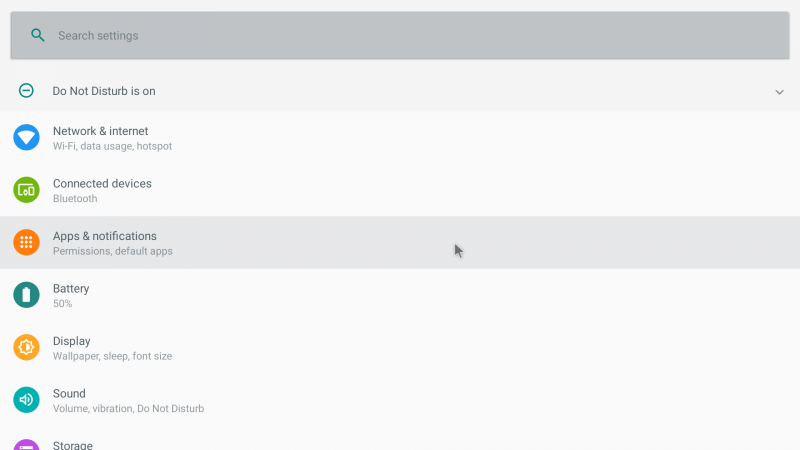
This is the interface of device preferences. There are many sub options in this interface: [display], [about], [Bluetooth], [date & time],
[language], [keyboard], [sound], [inputs], [storage], [home screen], [Google], [chromecast build-in], [screen saver], [location], [security & restrictions],
[accessibility], [reset], [advanced setting].This is all the sub options. I'll take two sub options to explain the settings.
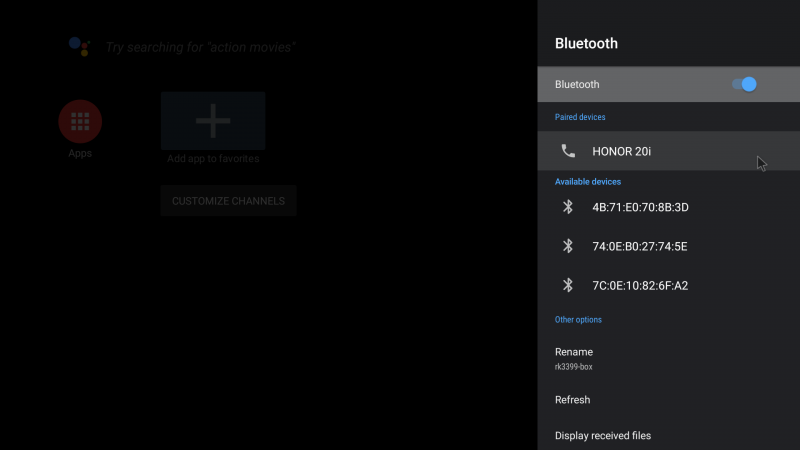
- BT :
Click BT to enter this interface. The device under the paid devices tag in the picture is my mobile phone's BT device.
They are connected to each other. If you want to upload picture video, BT is a good choice.
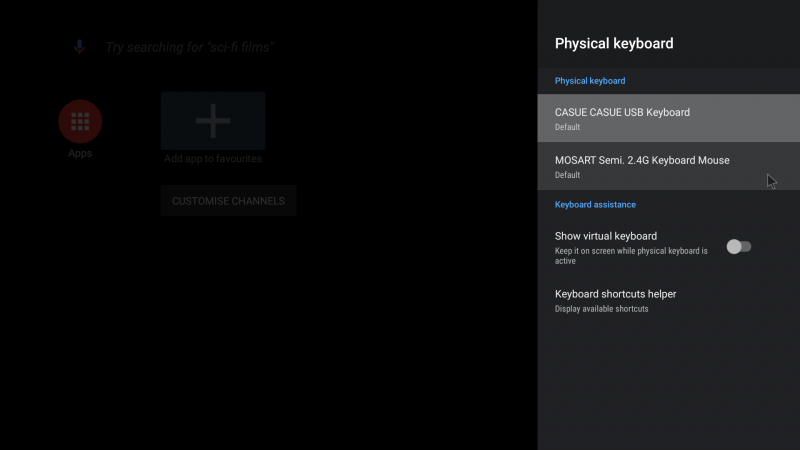
- Keyboard :
Click keyboard = > physical keyboard to enter the interface. Under the physical keyboard is the physical keyboard connected to the device.
Here I connect two keyboards: a wireless 2.4G keyboard and a wired physical keyboard. When you want to know whether your physical keyboard is connected,
you can check whether there is a physical keyboard connected to you.
Remotes & Accessories
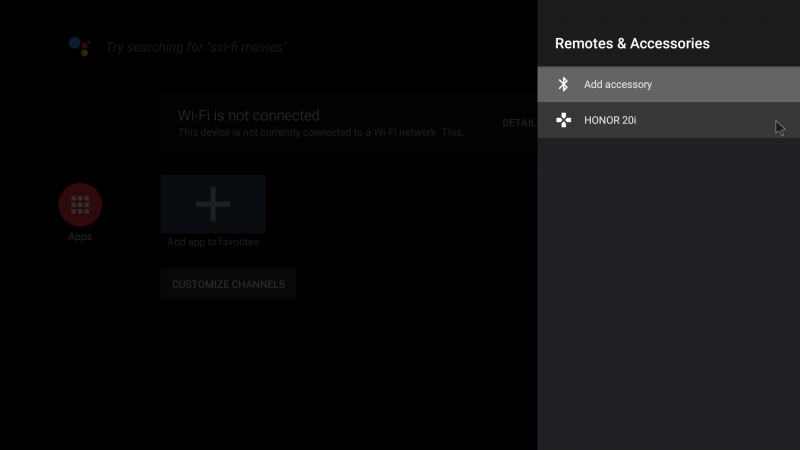
Add your remote control device and BT accessory device here, and click Add accessory to start scanning the device you want to connect.
Tuner Settings
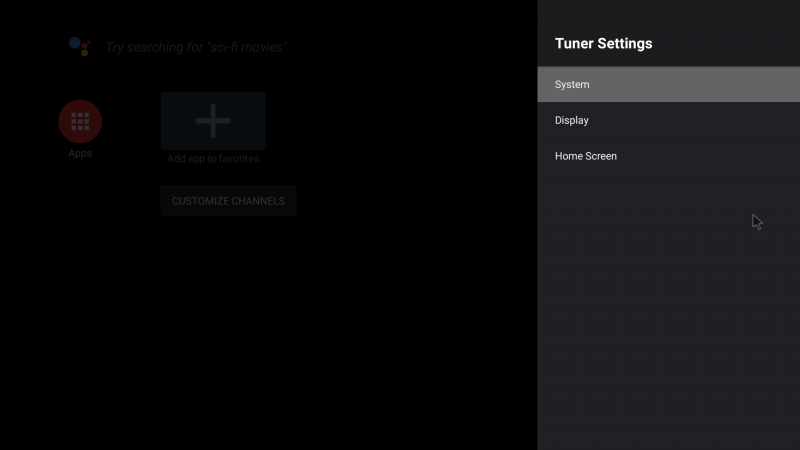
Click tuner settings to enter the interface, where there are system related settings, such as: click system = > make system partition write able, and then click sure,
which enables you to read and write (create files, write content and so on.) in the root directory. If you want to change the resolution of the screen,
you can also click display = > HDMI = > resolution and select the resolution you want.
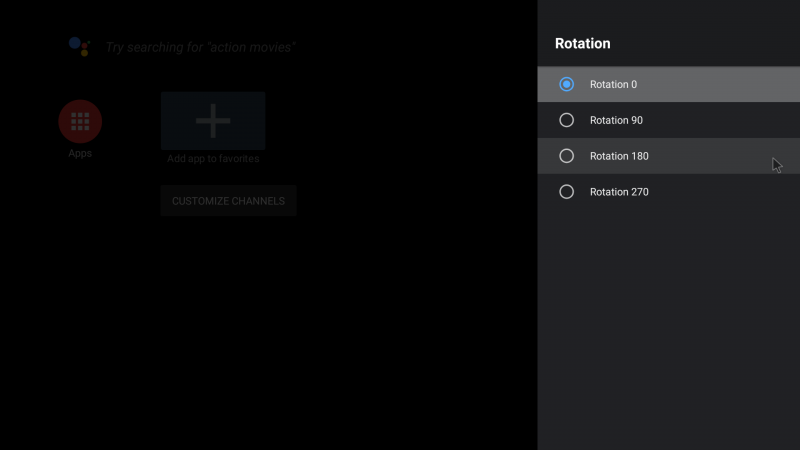
Click display = > HDMI = > rotation in order to enter this interface. You can set the rotation angle of the screen here. Unfortunately,
the TV version of Android 9 only supports 180 degrees of screen rotation. If you want the screen to rotate 90 degrees,
you can choose to use the tablet version of Android 9

