Rock3/3a/getting started
ROCK 3 > ROCK 3 Model A > Getting started
Contents
Getting Started
This guide is designed for ROCK 3A enthusiast. The purpose is to learn about ROCK 3A as well as how to prepare and set up for basic use. When you get a board, you need to know what model it is and which hardware version it is. The information is printed in the top side of the board. We will introduce the board information as much as possible.
What you need
Necessary
- ROCK 3A main board
- One of the Storage media below:
- microSD, larger than 8GB or
- eMMC module, larger than 8GB
- Power supply
- The ROCK 3 is powered by Type-C port and has a wide range of input voltage, from 5.5V to 12V. ROCK 3 supports USB Type-C PD 2.0 with 9V/2A, 12V/2A. Besides, the Pi supports QC 3.0/2.0 with 9V/2A and 12V/1.5A.
- The Type-C cable you using needs to support data communication. We call it USB Type-C charging data cable.
- USB Keyboard and Mouse
- With four USB-A connectors, ROCK 3 can be equipped with a full sized keyboard and mouse.
- Monitor and HDMI Cable
- ROCK 3 is equipped with a full sized HDMI connector. HDMI capable monitor is recommended.
- HDMI EDID display data is used to determine the best display resolution. On monitors and TVs that support 1080p (or 4K) this resolution will be selected. If 1080p is not supported the next available resolution reported by EDID will be used. This selected mode will work with MOST but not all monitors/TVs.
- microSD Card Reader
- For flashing the image into microSD Card
Optional
- USB type A to type A cable
- This is needed for fastboot/adb commands.
- USB to TTL serial cable
- This is needed for serial console.
- Ethernet cable
- ROCK 3 supports Internet access via WIFI or Ethernet.
- An Ethernet cable is used to connect your ROCK 3 to a local network and the Internet.
- Camera Module
- ROCK 3 supports camera function.
- LCD Module
- ROCK 3 supports LCD display function.
- Audio cable
- Audio can be played through speaker or headphones using a standard 3.5mm jack.
Starting the board for the first time
ROCK 3A can be started with eMMC Module or μSD Card. Now, you are presented with three options when installing your new operating system onto your ROCK 3A.
Prepare
- When starting system with eMMC Module
(Option a) Insert the eMMC Module into ROCK Pi eMMC USB Reader. Then plug the ROCK Pi eMMC USB Reader into host PC.
(Option b) Insert eMMC Module into eMMC to μSD card converter board. Insert the converter board into μSD Card Reader. Then plug the Card Reader into host PC.
- When starting system with μSD Card
(Option c) Insert the μSD Card into μSD Card Reader. Then plug the Card Reader into host PC.
Write Image
- Download the official Ubuntu/Debian system image from Downloads.
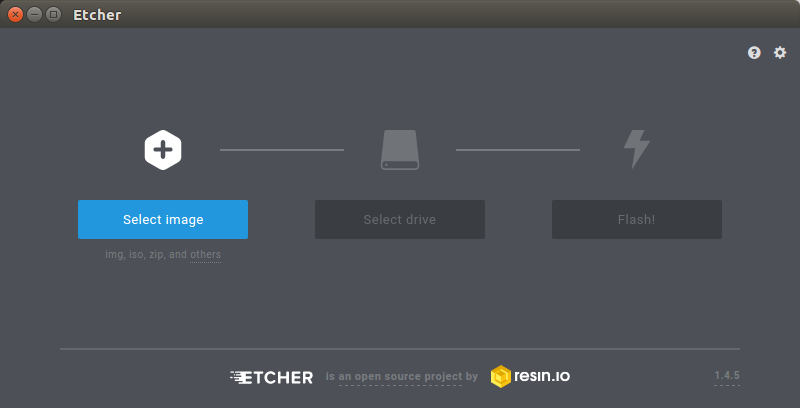
- Download the flash tool, etcher, from Downloads. Choose the right version for your host operation system. Here we operate on host Ubuntu 16.04.
- After unpacking the package, we run the tool by executing the command
$ ./etcher-etcher-electron-1.4.5-x86_64.AppImage
If you get an error message: "No polkit authentication agent found" you can try and start it with sudo, but do know that this is running the tool as root.
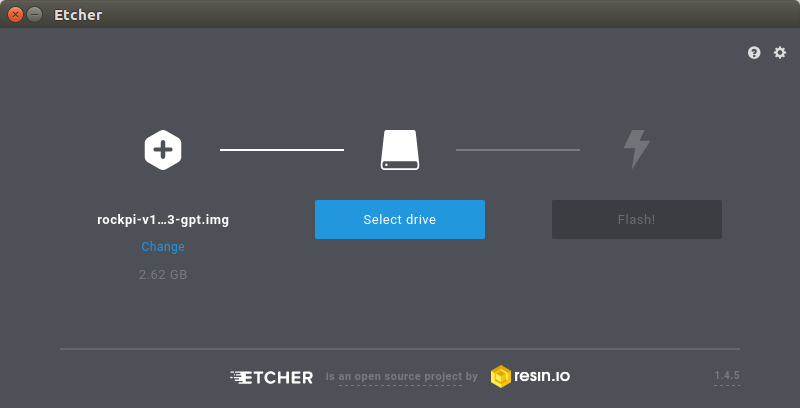
- In the etcher window, click Select image.
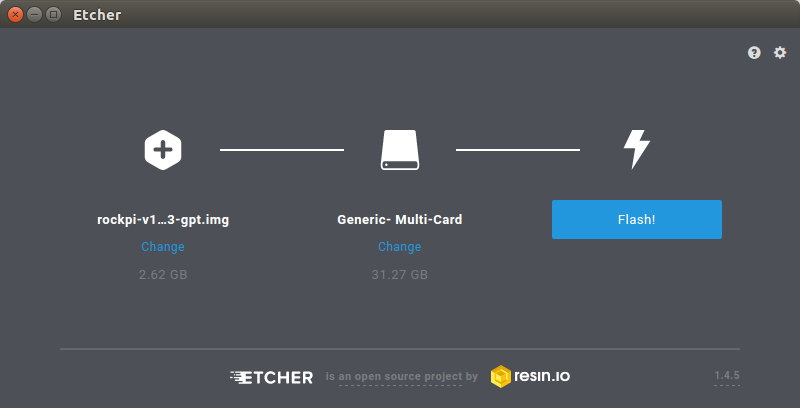
- In the etcher window, click Select Drive.
- In the etcher window, click Flash.
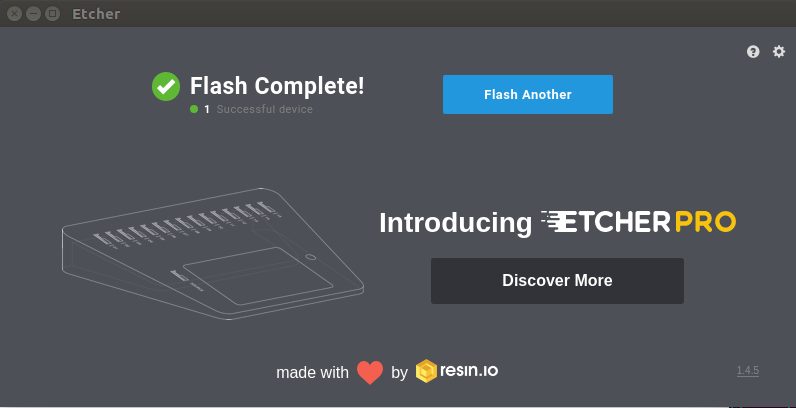
- In the etcher window, once it shows us Flash Complete! It is done and can be put into the RockPi.
3. Boot the board
- Now insert the system storage media, uSD Card or eMMC Module into the socket on the board.
- (Optional) Use the USB to TTL serial cable to setup a connection between PC and ROCK 3A board. See Serial Console.
- Power on ROCK 3A by adapter with type C port.
- ROCK 3A will boot with the green power Led on. And after a while, the other blue Led starts blinking.
4. Access from the Host PC/Laptop
Option 1: Serial console
Check Serial Console
Option 2: SSH
SSH server is enabled on port 22 of ROCK 3A default image.
Please use angryip to find your board IP address.
To access ROCK 3A by SSH, try
   ping rock3a.local
   ssh rock@rock3a.local
or if your router/network doesn't support Local Domain, you need to check your network/router administrator page and look for the ROCK 3A ip address.
   ping ip-of-device
   ssh rock@ip-of-device
Note: You can also get the IP of ROCK 3A from option 1 if you can not access network administrator page.
5.Network state
- Look at network configure:
$ sudo ifconfig
- Test network:
$ ping -c 5 www.google.com
6.WIFI Connection
Check WIFI Connection.
7.BT
Check BT.
8.LED
ROCK 3A has Power LED and User LED.
- Power LED
The power LED is green. It is always on when ROCK 3A is given power by default,
- User LED
The user LED is blue. By default, its blink status shows the running kernel.
9.GPIO
ROCK 3A has one 40-pin expansion headers. Each pin is distinguished by color, more information click here
Development for GPIO. ROCK 3A supports libmraa GPIO library, click here to get more information.


