Rockpi4/install/eMMC
ROCK Pi 4 > Install > Install to eMMC module or on board eMMC
This page describe how to download and install the image on an eMMC module or the eMMC on ROCK 4 and boot from eMMC. We have two options for that:
Contents
[hide]Option 1: With PC and eMMC module & adapter
Step1: Requirements
- ROCK 4A, 4B, 4C, 4 SE, 4C Plus, for 4A Plus and 4B Plus, eMMC is not removable, follow below Option 2
- an eMMC module, you can buy it from radxa distributor, the eMMC module from Odroid or PINE64 also works on ROCK 4.
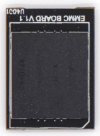
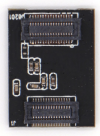
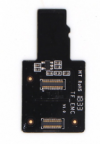
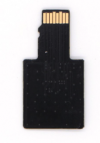
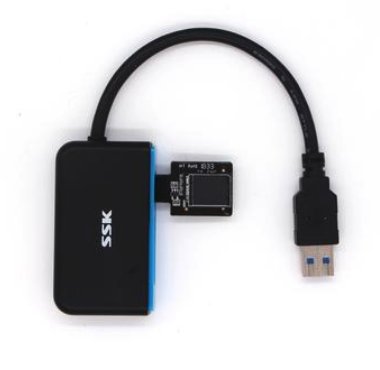
- an eMMC to microSD breakout board
If you do not have an eMMC to μSD card converter board, you can also first install a linux system (e.g.: Debian) to a μSD Card (see Rockpi4/install/microSD) and then use the running Linux μSD System to install the desired system to the eMMC card with the eMMC card already inserted into the Rock PI 4. See below Option 2.
- a microSD card reader, either a USB card reader or the SD card reader on laptop
- a PC/laptop running Windows or Linux or MacOS
You also need the following to run on ROCK 4
- ROCK 4A, 4B, 4C, 4 SE, 4C Plus board with power supply
- HDMI cable for display
- USB keyboard and mouse for input
Step 2: Download necessary tools and image
- Etcher is the tool we use to write image. Download the right Etcher for your PC from Rockpi4/downloads page and install it. Check [Etcher website] for more info about Etcher.
- Choose the image you want to install from Rockpi4/downloads page and unzip it. The unzipped image name is like below:
rockpi4_debian_stretch_lxde_armhf_20181105_2120-gpt.img
We will use it for the writing.
Step 3: Write the image to eMMC Module
1 Plug and click the eMMC module to the eMMC to uSD breakout board, plug the breakout board to microSD card reader. Plug the card reader on PC.
2 Run the application, for example, by executing the command on Ubuntu 16.04:
$ /bin/bash etcher-etcher-electron-1.4.5-x86_64.AppImage
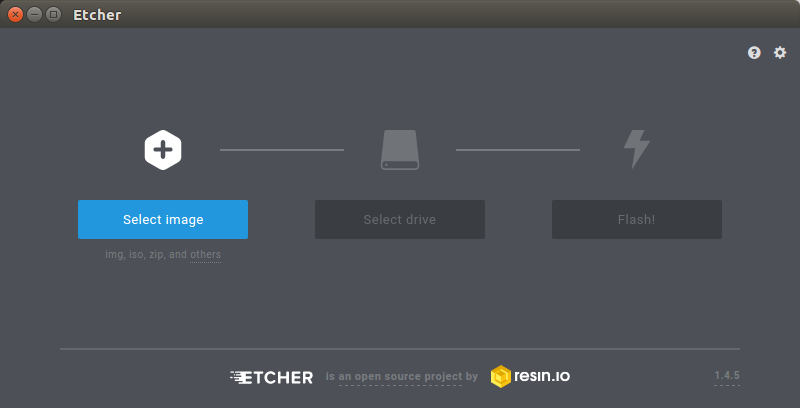
3 In the etcher window, we click button Select image.
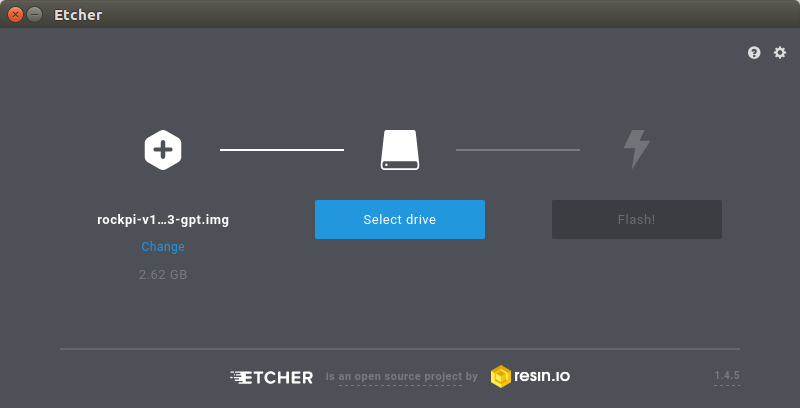
4 In the etcher window, we click button Select Drive.
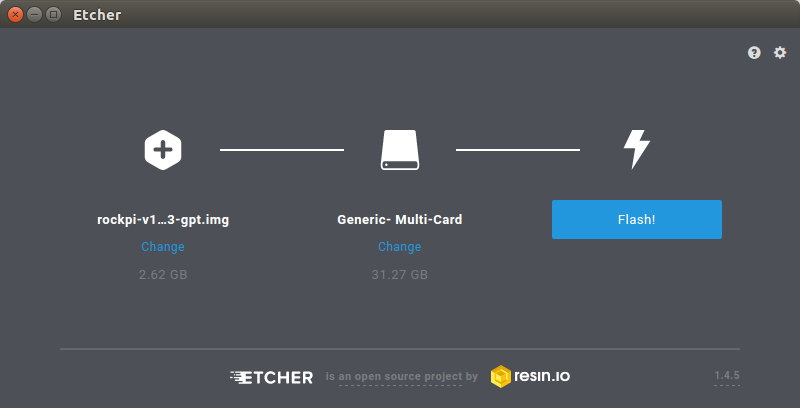
5 In the etcher window, we click button Flash.
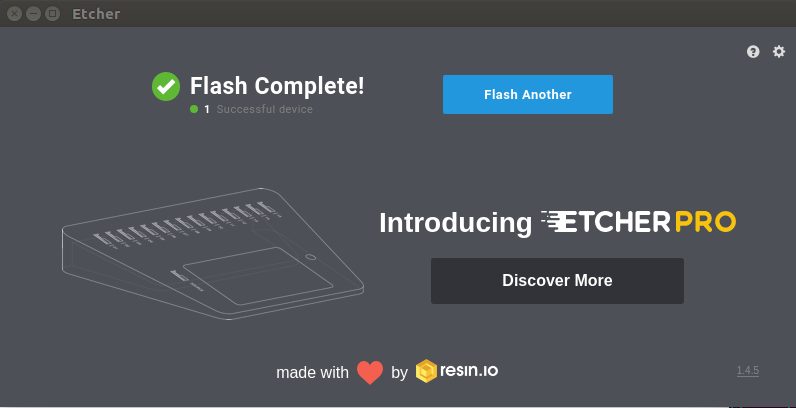
6 In the etcher window, it shows us Flash Complete!
Done! Now you have successfully installed the OS image on eMMC module.
Option 2: With ROCK 4
Requirements
- ROCK 4 board all models with power supply
- uSD card, for booting on ROCK 4
- HDMI cable for display
- USB keyboard and mouse for input
Write the image to eMMC Module on ROCK 4
If you have no eMMC to μSD card converter board or you have ROCK 4A Plus or 4B Plus,
- Install Debian Linux (or another Linux variant) first to microSD card following the microSD card installation page.
- Insert both your microSD
- Insert the (empty) eMMC module into the ROCK 4A, 4B, 4C, 4 SE, 4C Plus, for 4A Plus, 4B Plus, you have eMMC on the board already
- Reboot it. It will boot from microSD
You can now use that Linux on ROCK 4 to download your desired OS from Rockpi4/downloads and install it onto the eMMC module. Example:
Verify that the system has booted from μSD, which should be /dev/mmcblk0p5 and that the eMMC module is found as /dev/mmcblk1:
   $ dmesg | grep mmcblk
   ...
   [...] EXT4-fs (mmcblk0p5): mounted filesystem with ordered data mode.

   $ ls -l /dev/mmcblk1
   brw-rw---- 1 root disk 179, 0 Jan  6 13:25 /dev/mmcblk1
Then write your downloaded OS image to eMMC:
$ sudo dd if=rockpi4_debian_stretch_lxde_armhf_20181105_2120-gpt.img of=/dev/mmcblk1 bs=1M
If you image downloaded is img.xz format, it's compressed, use
$ xzcat rockpi-4cplus-ubuntu-focal-server-arm64-20220520-1242-gpt.img.xz | sudo dd of=/dev/mmcblk1 bs=1M
A CLI tool to write an image with write diagnostics is pv:
   $ sudo apt install pv
   $ sudo pv -ptera < rockpi4_debian_stretch_lxde_armhf_20181105_2120-gpt.img | dd of=/dev/mmcblk1 bs=1M
Power off your ROCK 4, remove the μSD and power on again. The system will now boot from the on board eMMC or eMMC module.
Possible Issues
RockPI4 v1.4 with SPI installed may have bootstrap code which is executed in before eMMC boostrap. This SPI bootstrap code may not be able to then boot third-party OS on eMMC, for example when booting an OS using MBR partition table instead of GUID partition table used by Radxa provided images. One example is the Armbian image on Rockpi4/downloads which uses MBR.
To overcome this issue, SPI bootstrap code can be disabled by connecting GPIO pins 23 with 25.
Alternatively, boot the Radxa version of debian from the download page from uSD and then excute:
$ sudo /usr/local/sbin/rockpi4b_erase_spi_flash.sh

