Rockpi4/install/android-NVME
ROCK Pi 4 > Install > Install on M.2 NVME SSD
Contents
Requirements
This page describe how to download and install the android9 gpt image on a M.2 NVME SSD and boot on ROCK Pi 4. You need at least the following.
- ROCK Pi 4 board with power supply
- a M.2 NVME SSD
- a PC/laptop running Windows or Linux or MacOS
Etcher in Linux/Windows
Etcher is the tool we use to write image. Download the right Etcher for your PC from Rockpi4/downloads page and install it.
Check [Etcher website] for more info about Etcher.
Step1: Download necessary tools and image
Choose the image you want to install may be from Rockpi4/downloads page and unzip it. The unzipped image name is like below:
rockpi-4b-*-gpt.img
We will use it for the writing.
Step2: Write the image to M.2 NVME SSD
1. Insert the M.2 NVME to USB breakout board, which connects to host computer.
2. Run the application, for example, by executing the command on Ubuntu 16.04:
$ /bin/bash etcher-etcher-electron-1.4.5-x86_64.AppImage
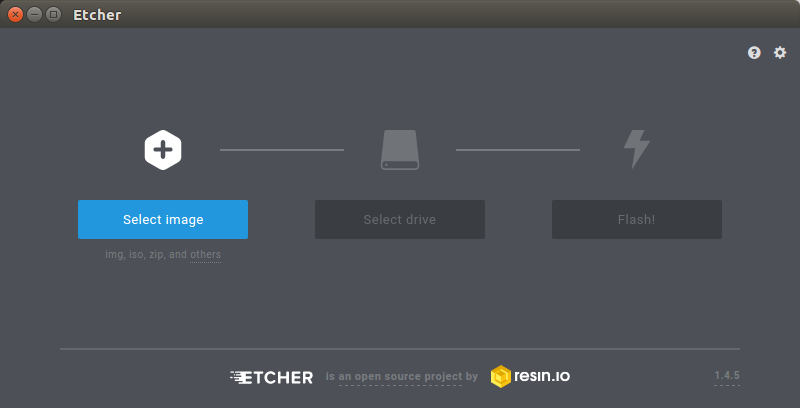
3. In the etcher window, we click button Select image.
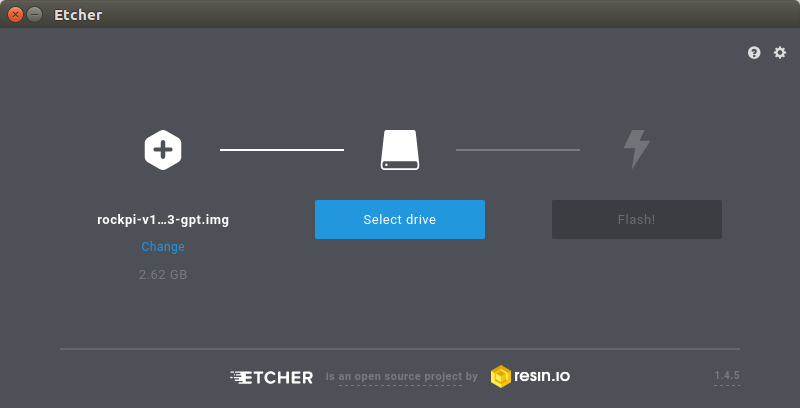
4. In the etcher window, we click button Select Drive.
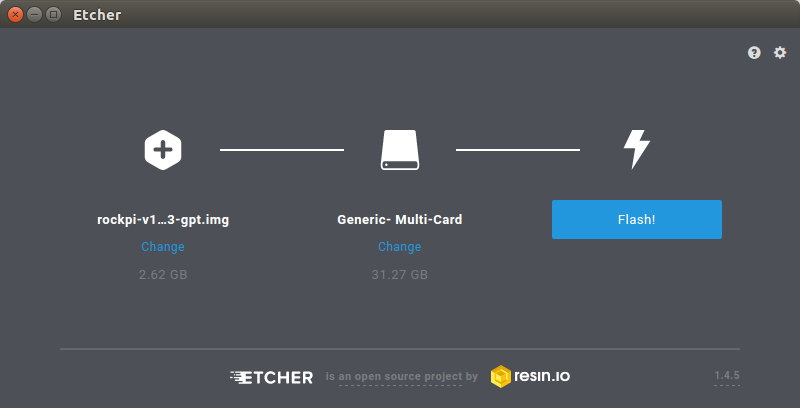
5. In the etcher window, we click button Flash.
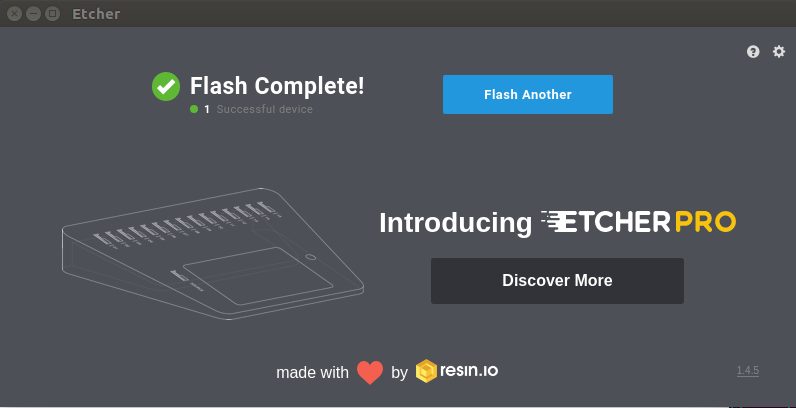
6. In the etcher window, it shows us Flash Complete!
Done! Now you have successfully installed the OS image on M.2 NVME SSD.
Other
Here's an easy way to do it on Linux
   radxa$ sudo chmod 777 /dev/<Your M.2 SSD device>*
   radxa$ umount /dev/<Your M.2 SSD device>*
   radxa$ dd if=rockdev/Image/rockpi-4b-*-gpt.img of=/dev/<Your M.2 SSD device> bs=4M status=progress
   radxa$ sync
Write SPI Flash
1. Boot To Maskrom Mode.
Case 1: Empty SPI flash
- Power off the board and remove any bootable storage media, remove microSD card
- Plug the USB Male A to Male A cable to ROCK Pi 4 OTG port (the upper USB3 port), the other side to PC
- Power on the board
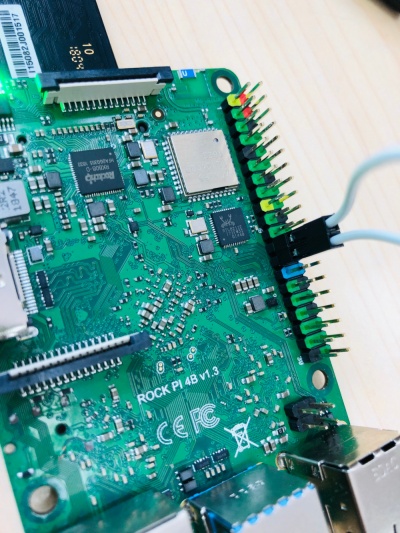
- Use cable to connect PIN23 and PIN25
- Power off the board and remove any bootable storage media, remove microSD card
- Plug the USB Male A to Male A cable to ROCK Pi 4 OTG port (the upper USB3 port), the other side to PC
- Power on the board
- unconnect PIN23 and PIN25
2. Write support android boot loader,uboot to spi flash.
RockPi 4 Loader
RockPi 4 u-boot
Use upgrade_tool on Linux. Configuration upgrade_tool.
   upgrade_tool db $(path)/rk3399_loader_spinor_v1.22.114.bin
   upgrade_tool wl 0 $(path)/uboot-trust-spi.img
   upgrade_tool rd
3. Now the device should boot from the SPI flash now.
FAQs
1. Erase images on SPI device
To erase images on SPI device, just need the following steps.
Firstly, follow Boot To Maskrom Mode -> Case2 to boot ROCK Pi 4 to maskrom mode.
Secondly, on your Linux PC, create zero.img.
dd if=/dev/zero of=./zero.img bs=1M count=4
Thirdly, flash zero.img to SPI device.
   rkdeveloptool db rk3399_loader_spinor_v1.15.114.bin
   rkdeveloptool wl 0 zero.img
   rkdeveloptool rd    # will output: Reset Device OK.
Finally, on your Linux PC, lsusb command show show the following usb devices
Bus 003 Device 005: ID 2207:330c
It means the SPI image is erased successfully.

