Rockpi4/getting started/es es
Contents
Esta guía esta pensada para entusiastas de ROCK Pi 4. Queremos que puedas aprender sobre la ROCK Pi 4 y que estés listo para configurar y usar su software. La ROCK Pi 4 tiene dos modelos, el Modelo A, ROCK Pi 4 Modelo A y el ROCK Pi 4 Modelo B. Cuando uses la ROCK Pi debes conocer su modelo y la versión de su hardware. Esta información esta impresa en la parte superior de la tarjeta. Te hablaremos sobre la información de la tarjeta tan pronto como sea posible.
Lo que necesitas :-)
Imprescindible
- Tarjeta ROCK Pi 4
- ROCK Pi 4 Modelo A o Modelo B
- Uno de estos medios de almacenamiento:
- Tarjeta uSD mayor de 8GB.
- Módulo eMMC mayor de 8GB con tarjeta conversora eMMC a uSD.
- Alimentación
- La tarjeta ROCK Pi 4 se alimenta por un puerto USB tipo C y admite un amplio rango de voltages de entrada, desde 9V a 21V. La Pi soporta USB Tipo C PD 2.0 de 9V/2A, 12V/2A, 15V/2A y20V/2A. Además, Pi soporta QC 3.0/2.0 de 9V/2A y 12V/1.5A.
- El cable USB tipo C que uses debe soportar la comunicación de datos. Nosotros lo llamamos cable USB tipo C de datos de carga.
- Teclado y Ratón por USB
- Con cuatro conectores USB-A, ROCK PI 4 permite la conexión de un teclado completo de 104 teclas y un ratón.
- Un Monitor y un Cable HDMI
- ROCK Pi 4 incorpora un conector HDMI. Se recomienda un monitor con conector HDMI.
- ROCK PI 4 incorpora datos de visualización por HDMI EDID para decidir la mejor resolución en pantalla. En monitores y televisores que soporten resoluciones de 1080p (o 4K) esta resolución será seleccionada. Consecuentemente se seleccionará la resolución más alta disponible. Este sistema es compatible con la mayoría pero no todos los monitores/televisores.
Opcional
- Lector de Tarjetas uSD
- Para grabar la imagen en la Tarjeta uSD o en el Módulo eMMC.
- Cable USB tipo A a tipo A
- Es necesario para mandar comandos fastboot/adb.
- Cable USB a serie TTL
- Es necesario para la consola en serie.
- Cable de Red Ethernet
- ROCK Pi 4 supports Internet access via WIFI or Ethernet.
- An Ethernet cable is used to connect your ROCK Pi 4 to a local network and the Internet.
- Camera Module
- ROCK Pi 4 supports camera function.
- LCD Module
- ROCK Pi 4 supports LCD display function.
- Audio lead
- Audio can be played through speaker or headphones using a standard 3.5mm jack.
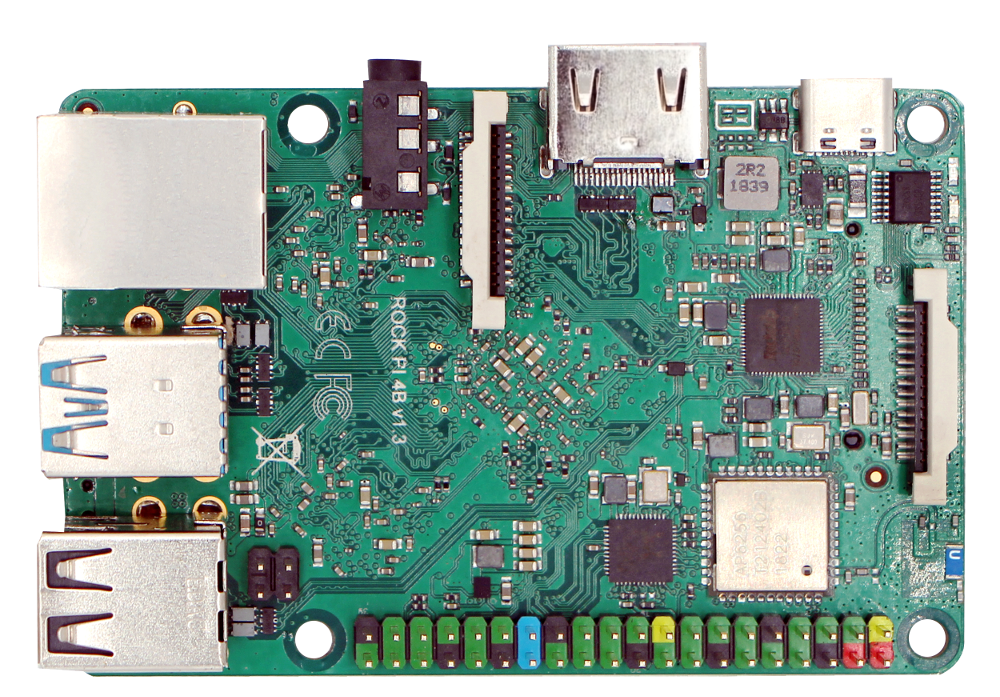
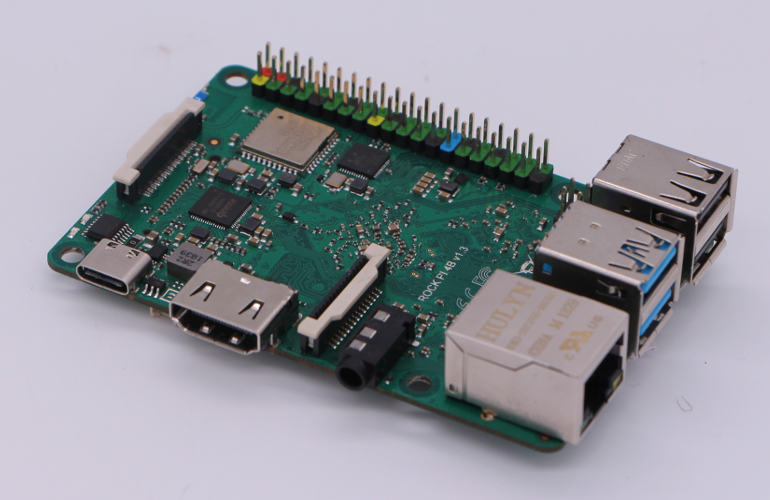
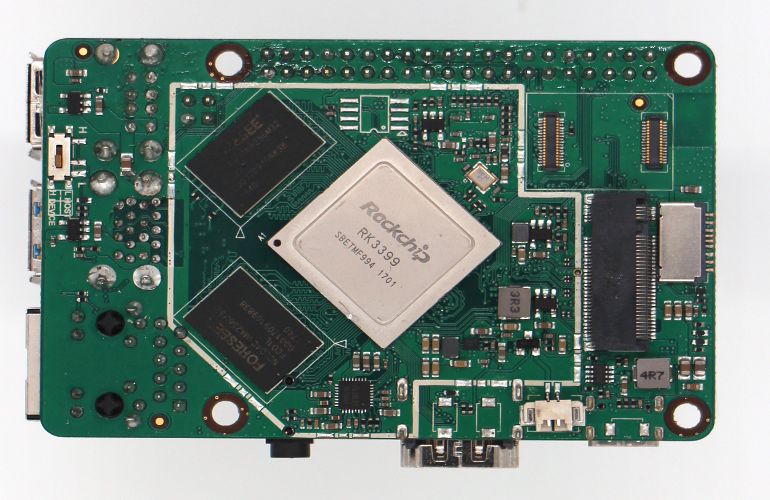
Close look of ROCK Pi 4B
- ROCK Pi 4B front view
- ROCK Pi 4B front with an angle view
- ROCK Pi 4B back view
Features
| Model | ROCK PI 4 Model A | ROCK PI 4 Model B |
|---|---|---|
| Processor | 64bits hexa core processor Rockchip RK3399 Dual Cortex-72, frequency 1.8GHz with qual Cortex-A53, frequency 1.4GHz Mali T860MP4 gpu, support OpenGL ES 1.1/2.0/3.0/3.1/3.2, Vulkan 1.0, Open CL 1.1 1.2, DX11. | |
| Memory | LPDDR4 64bit dual channel LPDDR4@3200Mb/s, 1GB/2GB/4GB optioal | |
| Storage | eMMC module (Optional industrial compatible high performance eMMC module, 8GB/16GB/32GB/64GB/128GB available) uSD card (uSD slot supports up to 128 GB uSD card) M.2 SSD (M.2 connector supports up to 2T M2 NVME SSD) | |
| Display | HDMI 2.0 up to 4k@60 MIPI DSI 2 lanes via FPC connector HDMI and MIPI DSI can work at the same time, support mirror mode or extend mode. | |
| Audio | 3.5mm jack with mic HD codec that supports up to 24-bit/96KHz audio. | |
| Camera | MIPI CSI 2 lanes via FPC connector, support up to 800 MP camera. | |
| Wireless | None | 802.11 ac wifi Bluetooth 5.0 with on board antenna |
| USB | USB 3.0 OTG X1, hardware switch for host/device switch, upper one USB 3.0 HOST X1, dedicated USB 3.0 channel, lower one USB 2.0 HOST X2 | |
| Ethernet | GbE LAN | GbE LAN with PoE support additional HAT is required for powering from PoE |
| IO | 40-pin expansion header 1 x UART 2 x SPI bus 2 x I2C bus 1 x PCM/I2S 1 x SPDIF 1 x PWM 1 x ADC 6 x GPIO 2 x 5V DC power in 2 x 3.3V DC power in | |
| Others | RTC RTC battery connector for time backup(optioal) | |
| Power | USB PD, support USB Type C PD 2.0, 9V/2A, 12V/2A, 15V/2A, 20V/2A. Qualcomm® Quick ChargeTM: Supports QC 3.0/2.0 adapter, 9V/2A, 12V/1.5A | |
| Size | 85mm x 54mm | |
Starting the board for the first time
ROCK Pi 4 can be started with eMMC or uSD Card. Now, you are presented with two options when installing your new operating system onto your ROCK Pi 4.
Prepare
- When start system with eMMC
Insert eMMC Module into eMMC to uSD card converter board. Insert the converter board into uSD Card Reader, which connects to host computer. The picture below shows.
(add eMMC, eMMC to uSD Module and uSD Card Reader picture)
- When start system with uSD Card
Insert the uSD Card into uSD Card Reader, which connects to host computer. The picture below shows.
(add uSD Card and uSD Card Reader picture)
Write Image
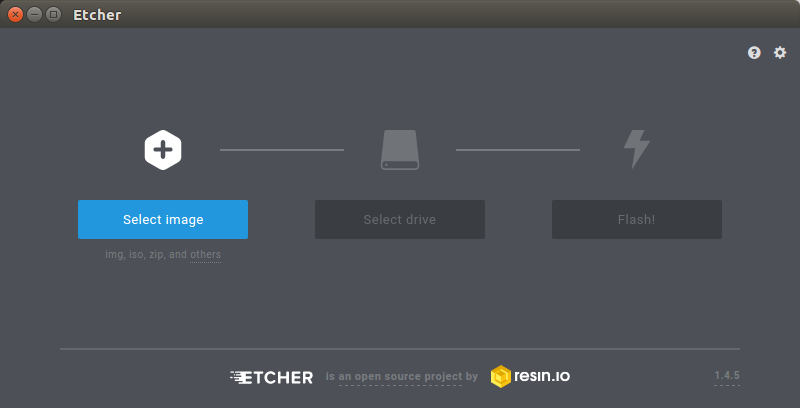
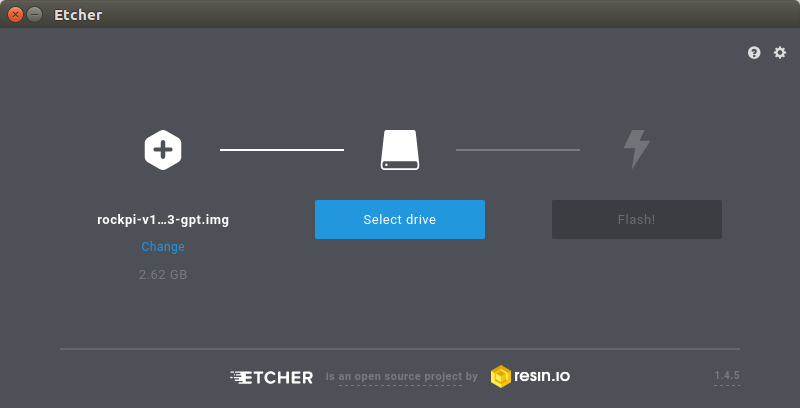
- Download the flash tool, etcher, from Downloads. Choose the right version for your host operation system. Here we operate on host Ubuntu 16.04.
- After unpacking the package, we run the tool by executing the command
$ /bin/bash etcher-etcher-electron-1.4.5-x86_64.AppImage
- In the etcher window, we click button Select image.
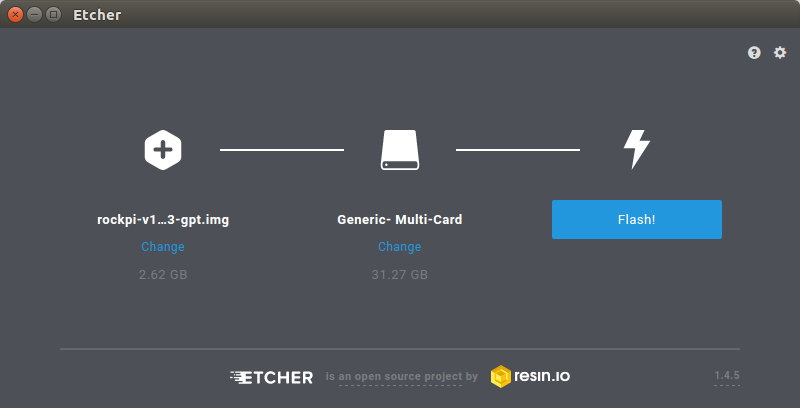
- In the etcher window, we click button Select Drive.
- In the etcher window, we click button Flash.
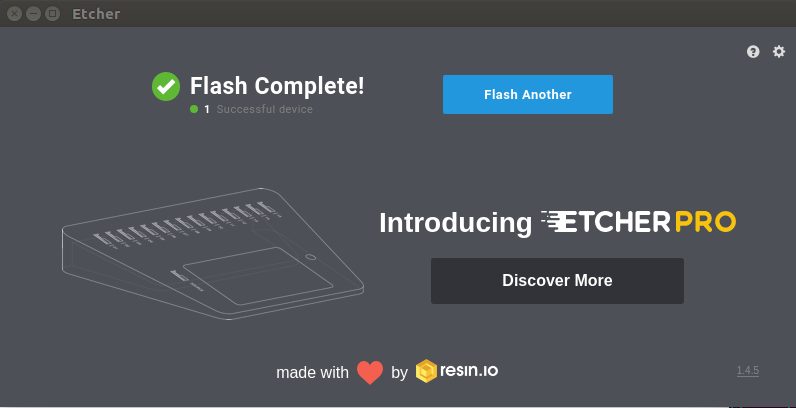
- In the etcher window, it shows us Flash Complete!
Boot
- Now insert system storage media into the socket on board.
- Method of starting system with eMMC The picture below shows.
(add picture) - Methos of starting system with uSD CardThe picture below shows.
(add picture)
- Method of starting system with eMMC The picture below shows.
- Connect the ROCK Pi 4 to your display with the HDMI cable. Ensure that the source for the display is switched to the HDMI port you are using.
- Connect the USB keyboard and mouse.
- Connect the power supply to the ROCK Pi 4. The board will begin to immediately.

