Rockpi4/Android
Contents
Work with ROCKPI4Android
Introduction to ROCKPI4Android
ROCKPI4Android is a magical system. It is very easy to use. Equipped with a 4K HDMI monitor, USB keyboard and USB mouse, working with ROCKPI4Android is a great experience. You are ale to watch 4K video. What's more, Interactive digital entertainment, education and commercialization activities are available via the network.
By the way, for USB mouse, left single click means OK, right single click means returning to the previous window.
Settings
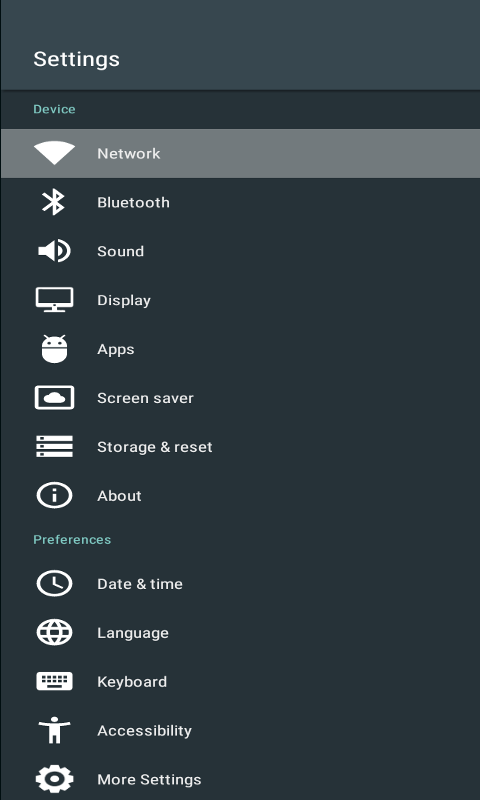
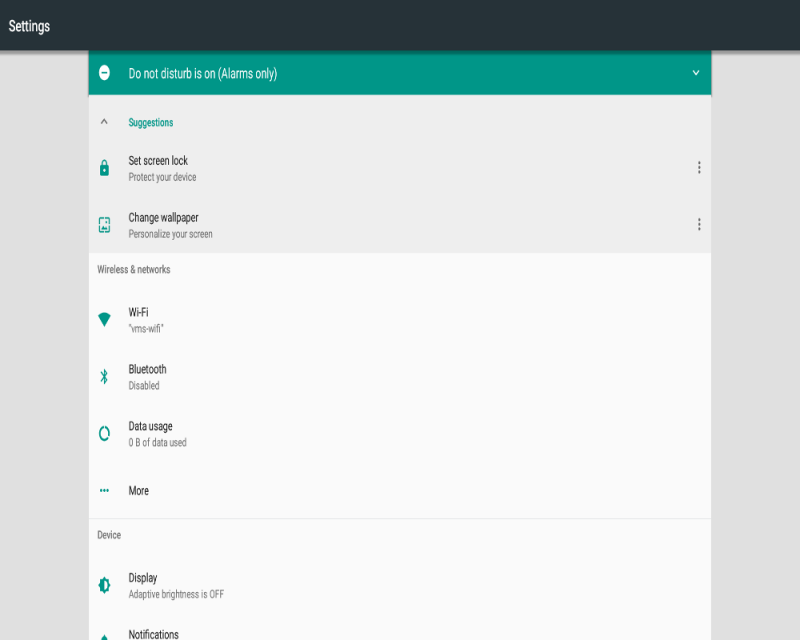
There is a Settings button on the main window. Click on it, and then do the following settings, such as Network, Bluetooth, Sound, Display, Date, Time and so on. To do more settings, select the More Settings button.
Ethernet Connection
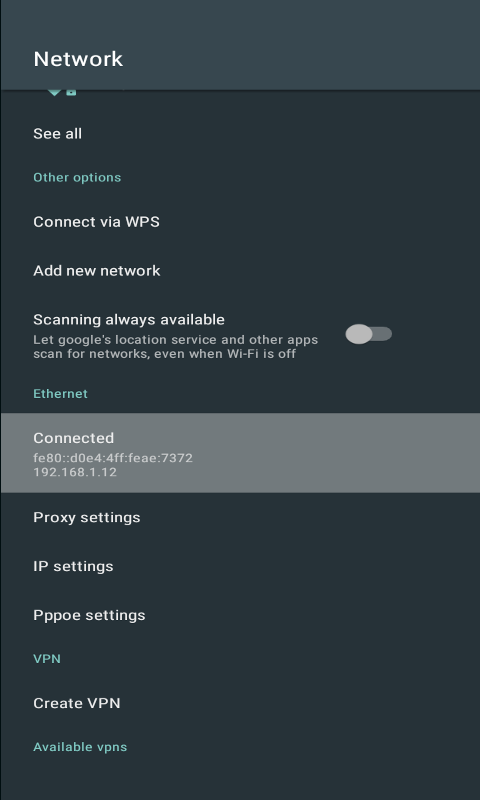
To connect your ROCK Pi 4 to the Internet, you need a network cable. ROCK Pi 4 will automatically configure the network for your surfing on the Internet. On the Ethernet setting window you may see the normal IP address. You can also use application Google Chrome to confirm whether you can access the network.
Click on the Network button and Ethernet item is shown to you. Here, you can encouraged to do:
- setting proxy
- setting IP
- so on
WIFI Connection
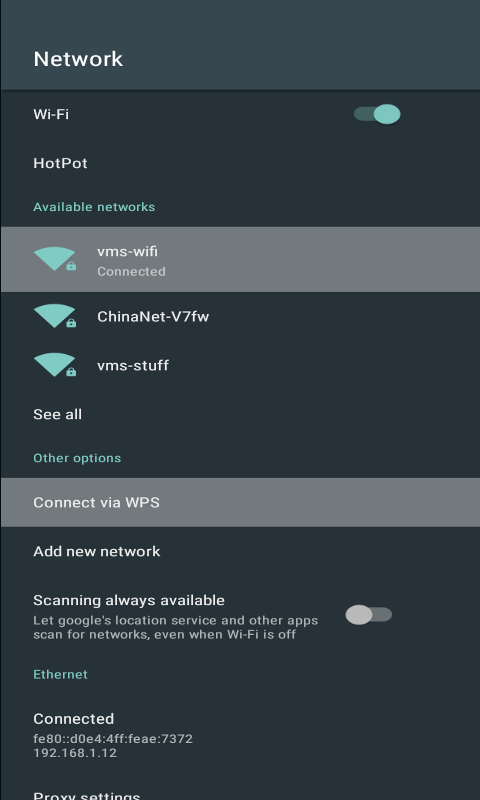
WIFI is another choice for your network connection. 2.4G and 5G WIFI are both supported. Click on Network button and WIFI item is shown to you. Wi-Fi switch button allows you to enable or disable WIFI. Once enable WIFI, hot pots automatically shows. Select your wanted hot pot and input needed password(if necessary).
Bluetooth Connection
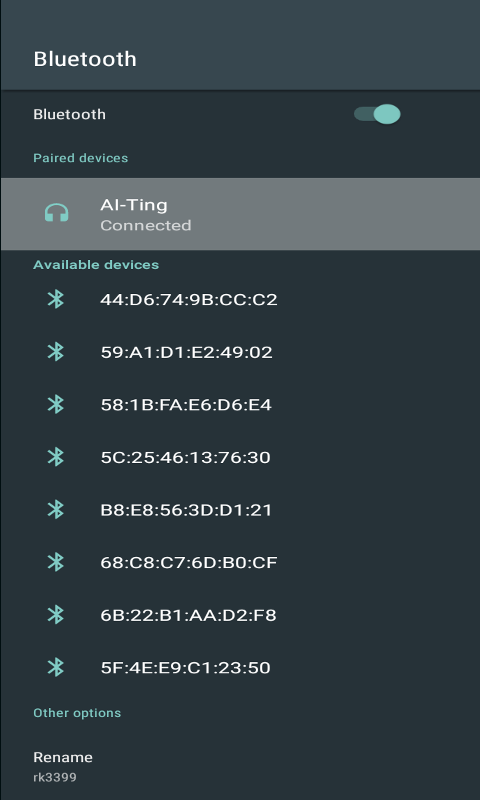
Click on the Bluetooth button to switch to the Bluetooth window. Bluetooth switch button allows to enable or disable the Bluetooth . Select your lovely Bluetooth device. Waiting for seconds of connection.
Sound Setting
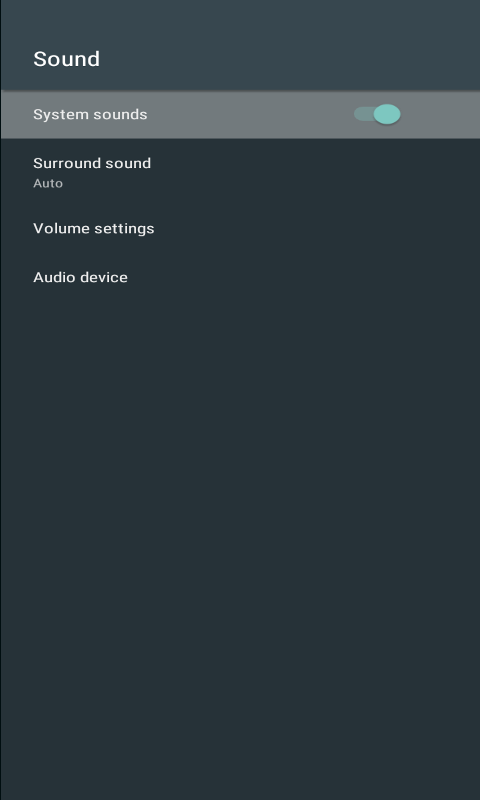
Click on the Sound button to switch to the Sound window. Here setting volume and selecting audio devices are supported.
Display Setting
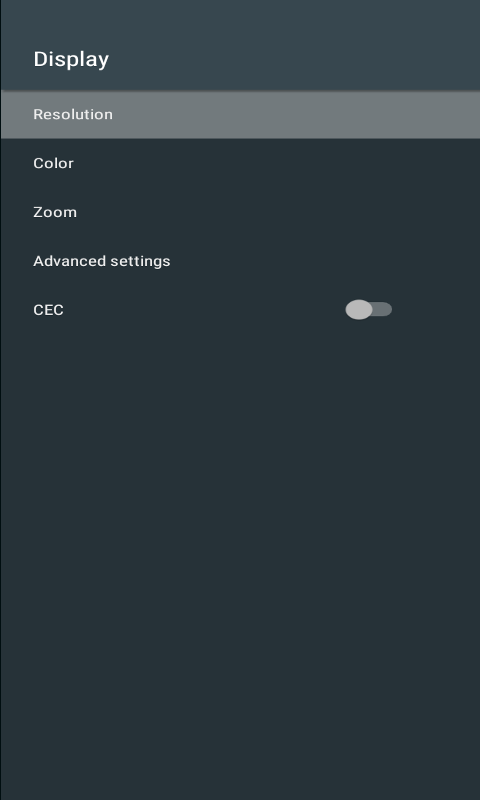
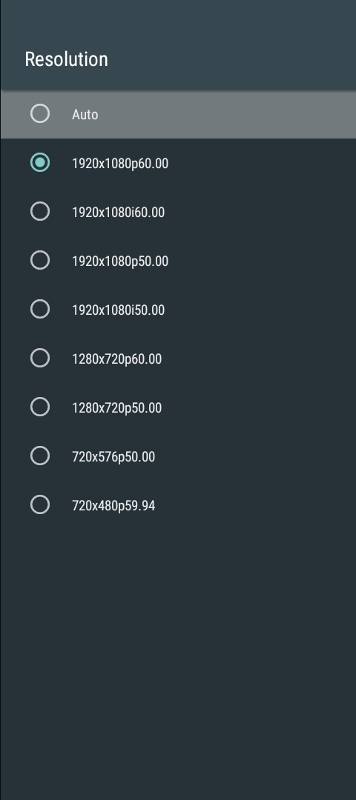
Click on the Display button to switch to the Display window. And click on the HDMI button to HDMI window, which you can set resolution, color, zoom, etc.
More Setting
To set more function, switch to the More Setting window.
Applications
On the system, there have been some pre-installed applications. And all installed applications are shown on the main window.
Play Store
Google Play Store covers apps, videos, music, e-books and other digital products.
Browser Lightning
Click on Lightning button, and surf the web. Don't forget to connect the speaker through the audio port on board and/or HDMI monitor. It supports playback of 4k video.
YouTube
Click on You Tube button and enjoy your favorite videos and music. You can upload original content and share them with your family, friends around the world.

