Difference between revisions of "Rock3/install/microSD"
(→Part three: Write U-Boot images to microSD) |
|||
| Line 75: | Line 75: | ||
<pre> | <pre> | ||
| − | $ sudo dd if=./idbloader.img | + | $ sudo dd if=./idbloader.img of=/dev/sdX seek=64 |
| − | $ sudo dd if=./u-boot.itb | + | $ sudo dd if=./u-boot.itb of=/dev/sdX seek=16384 |
</pre> | </pre> | ||
| Line 82: | Line 82: | ||
<pre> | <pre> | ||
| − | % sudo dd if=./idbloader.img | + | % sudo dd if=./idbloader.img of=/dev/diskX seek=64 |
| − | % sudo dd if=./u-boot.itb | + | % sudo dd if=./u-boot.itb of=/dev/diskX seek=16384 |
</pre> | </pre> | ||
Revision as of 09:57, 25 December 2021
ROCK 3 > Installation > Install the image to microSD
Contents
[hide]Install the image to microSD
This guide describes how to write images to microSD and erase microSD card for ROCK 3 serial boards.
Available ROCK 3 boards:
- ROCK 3A
- ROCK 3B
- Radxa E23
- Radxa E25
- Radxa CM3 IO
- Radxa CM3 RASPCM4IO
Part one: Write one system image to microSD
In part one let's focus on writing one system image to microSD. Here we test it with ROCK 3A board.
Step one: Requirements
- ROCK 3A board with power supply
- a microSD card, larger than 8GB, class 10 or better
- a microSD card reader, either a USB card reader or the SD card reader on laptop
- a PC/laptop running Windows or Linux or MacOS
Step two: Download necessary tools and image
- Etcher is the tool we use to write image. Download the right Etcher for your PC from ROCK 3 Downloads page and install it. Check Etcher website for more info about Etcher.
- Choose the image you want to install from ROCK 3 Downloads page.
Here we use the following image for writing.
rock3a_debian_buster_xfce4_arm64_20210824_0136-gpt.img.gz
Step three: Write the image to microSD card
- Insert the microSD Card into microSD Card Reader, which connects to host computer.
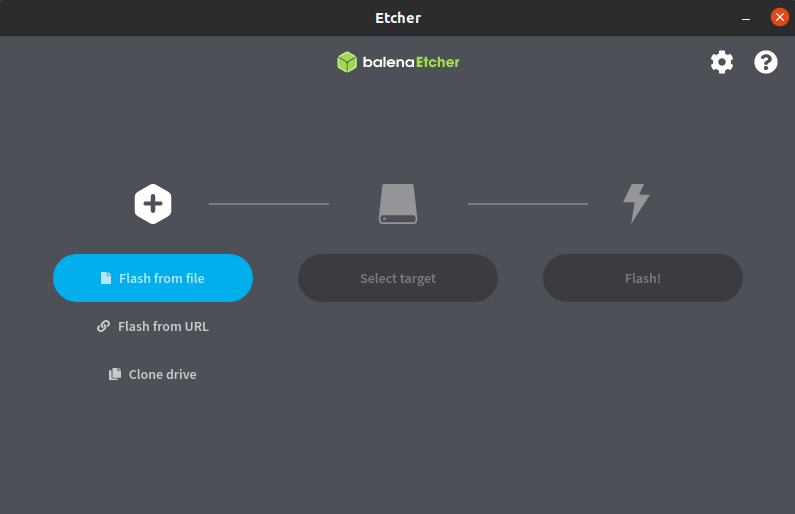
- Run the application. For example double click balenaEtcher-1.5.116-x64.AppImage on Ubuntu 20.04:
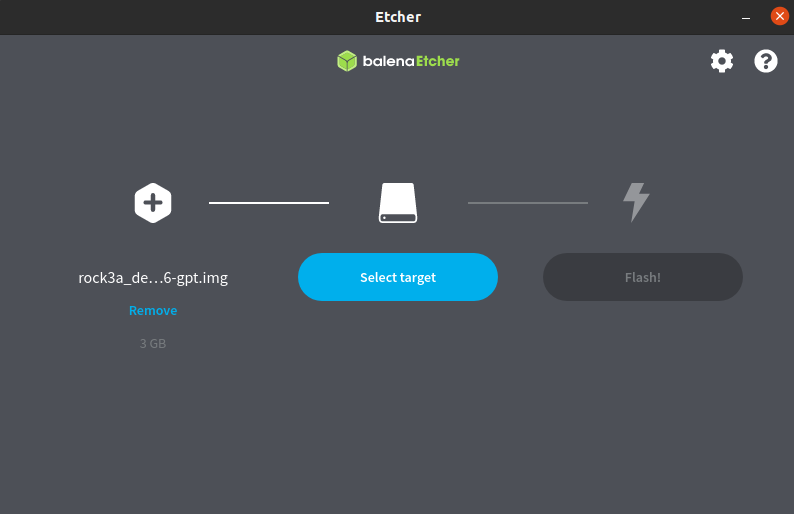
- In the etcher window, we click button Select image.
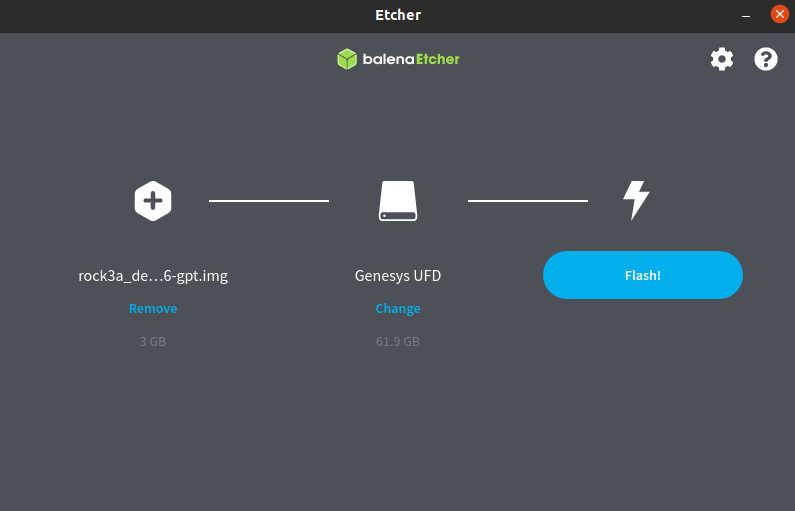
- In the etcher window, we click button Select Drive.
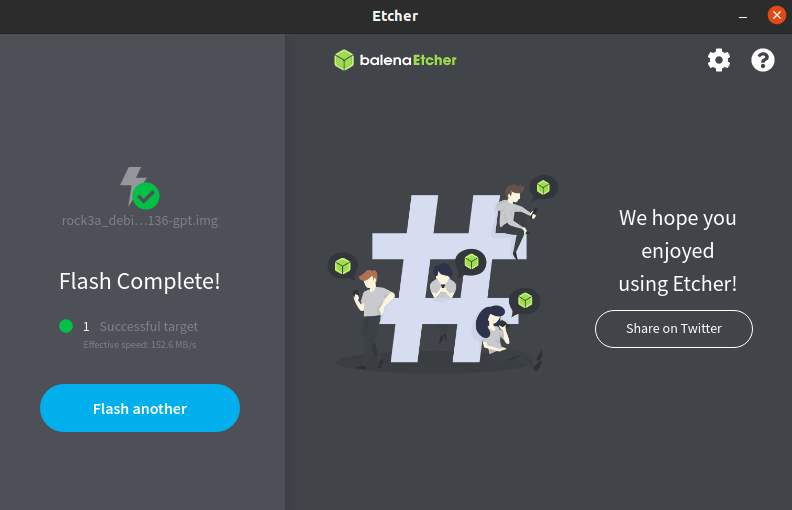
- In the etcher window, we click button Flash.
- In the etcher window, it shows us Flash Complete!
Done! Now you have successfully installed the OS image on microSD card.
Part two: Erase microSD
When microSD is written with Android (or Linux) images before, now we change to Linux( or Android). It's recommended that you erase microSD first. Then write the target images.
Part three: Write U-Boot images to microSD
In part three let's take a look know to write U-Boot images to microSD. We have prebuilt u-boot images built via rockchip-bsp SDK. They're idbloader.img and u-boot.itb.
On Linux PC:
$ sudo dd  if=./idbloader.img  of=/dev/sdX  seek=64
$ sudo dd  if=./u-boot.itb   of=/dev/sdX  seek=16384
On Mac PC:
% sudo dd  if=./idbloader.img  of=/dev/diskX  seek=64
% sudo dd  if=./u-boot.itb  of=/dev/diskX  seek=16384


