Difference between revisions of "Rock3/install/eMMC"
| Line 8: | Line 8: | ||
This page describes how to download and install the image on eMMC and boot on ROCK 3. You need at least the following. | This page describes how to download and install the image on eMMC and boot on ROCK 3. You need at least the following. | ||
| + | |||
| + | Available ROCK 3 boards: | ||
| + | * ROCK 3 A | ||
====Step1: Requirements ==== | ====Step1: Requirements ==== | ||
| Line 18: | Line 21: | ||
====Step 2: Download necessary tools and image ==== | ====Step 2: Download necessary tools and image ==== | ||
| − | * Etcher is the tool we use to write image. Download the right Etcher for your PC from [[rock3/downloads]] page and install it. Check | + | * Etcher is the tool we use to write image. Download the right Etcher for your PC from [[rock3/downloads | ROCK 3 Downloads]] page and install it. Check [https://www.balena.io/etcher/ Etcher website] for more info about Etcher. |
| − | * Choose the image you want to install from [[rock3/downloads]] page. | + | * Choose the image you want to install from [[rock3/downloads | ROCK 3 Downloads]] page. |
| + | |||
| + | For example | ||
rock3a_debian_buster_xfce4_arm64_20210824_0136-gpt.img.gz | rock3a_debian_buster_xfce4_arm64_20210824_0136-gpt.img.gz | ||
Revision as of 07:02, 13 November 2021
ROCK 3 > Installation > Install on eMMC with USB to eMMC Reader
Contents
Install on eMMC with USB to eMMC Reader
This page describes how to download and install the image on eMMC and boot on ROCK 3. You need at least the following.
Available ROCK 3 boards:
- ROCK 3 A
Step1: Requirements
- ROCK 3 board with power supply
- a eMMC module, larger than 8GB, class 10 or better
- a USB to eMMC reader
- a PC/laptop running Windows or Linux or MacOS
Step 2: Download necessary tools and image
- Etcher is the tool we use to write image. Download the right Etcher for your PC from ROCK 3 Downloads page and install it. Check Etcher website for more info about Etcher.
- Choose the image you want to install from ROCK 3 Downloads page.
For example
rock3a_debian_buster_xfce4_arm64_20210824_0136-gpt.img.gz
We will use it for the writing.
Step 3: Write the image to eMMC module
1. Insert the eMMC module into USB to eMMC reader, which connects to host computer.
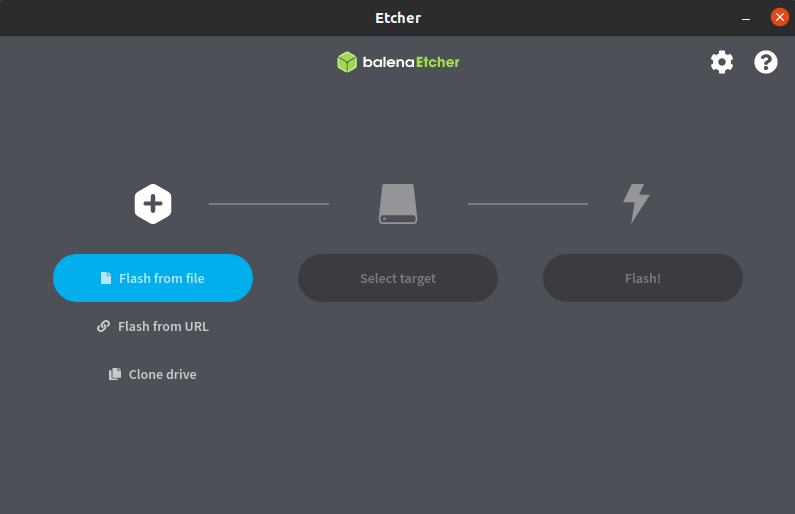
2. Run the application. For example double click balenaEtcher-1.5.116-x64.AppImage on Ubuntu 20.04:
3. In the etcher window, we click button Select image.
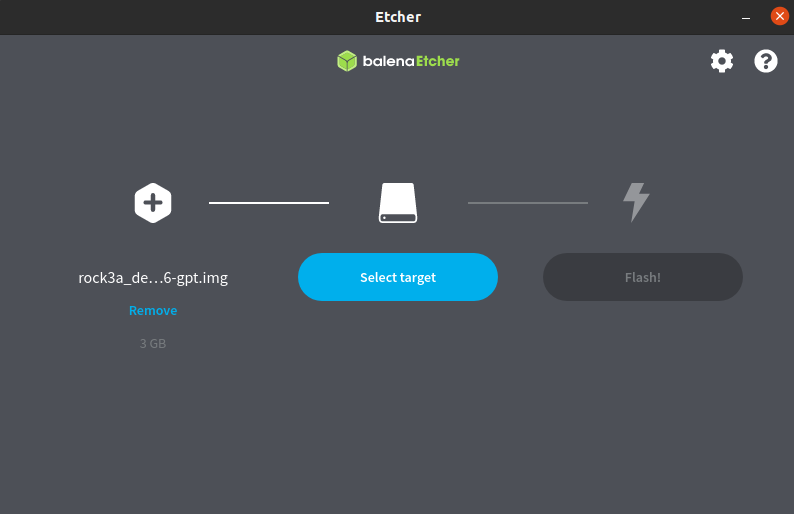
4. In the etcher window, we click button Select Drive.
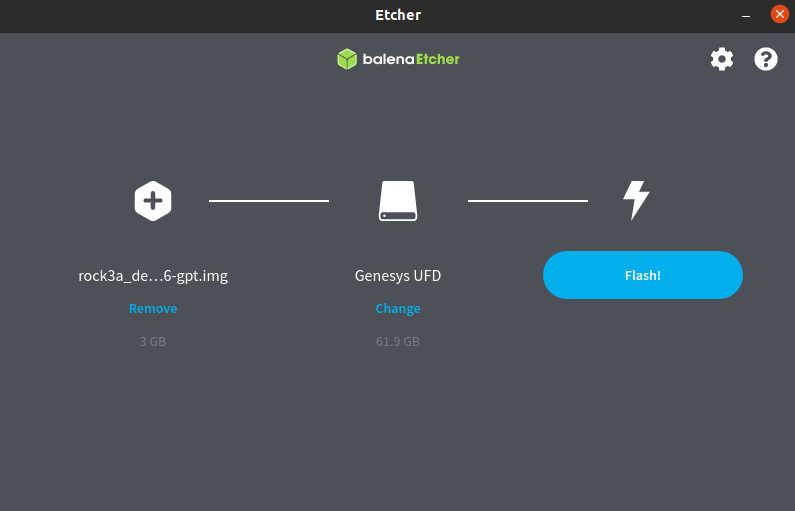
5. In the etcher window, we click button Flash.
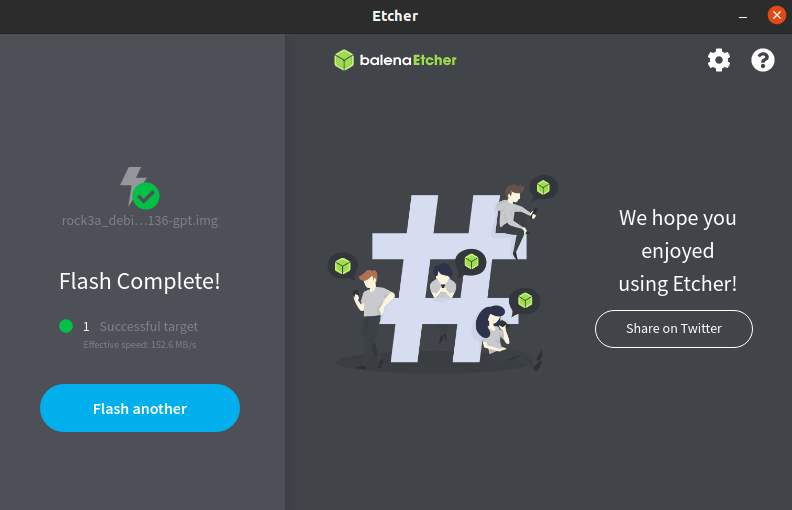
6. In the etcher window, it shows us Flash Complete!
Done! Now you have successfully installed the OS image on eMMC module.


