Difference between revisions of "Rockpi4/dev/vs"
| Line 60: | Line 60: | ||
[[File:Start_button.png]] | [[File:Start_button.png]] | ||
| + | |||
| + | [[File:Ssh_configure.png]] | ||
[[File:Hello_world.png]] | [[File:Hello_world.png]] | ||
== Configure libmraa == | == Configure libmraa == | ||
Latest revision as of 08:07, 27 October 2019
ROCK Pi 4 > Development > Setting Up Visual Studio For ROCK Pi 4
Contents
On ROCK Pi
Install all the recommended packages
- Compilers:
$ sudo apt-get install build-essential
- Required:
$ sudo apt-get install cmake git libgtk2.0-dev pkg-config libavcodec-dev libavformat-dev libswscale-dev gdb
Install ssh server
- Install ssh server:
$ sudo apt install openssh-server
- Start-up ssh server:
$ sudo systemctl start ssh.service
On Windows PC
Install visual studio
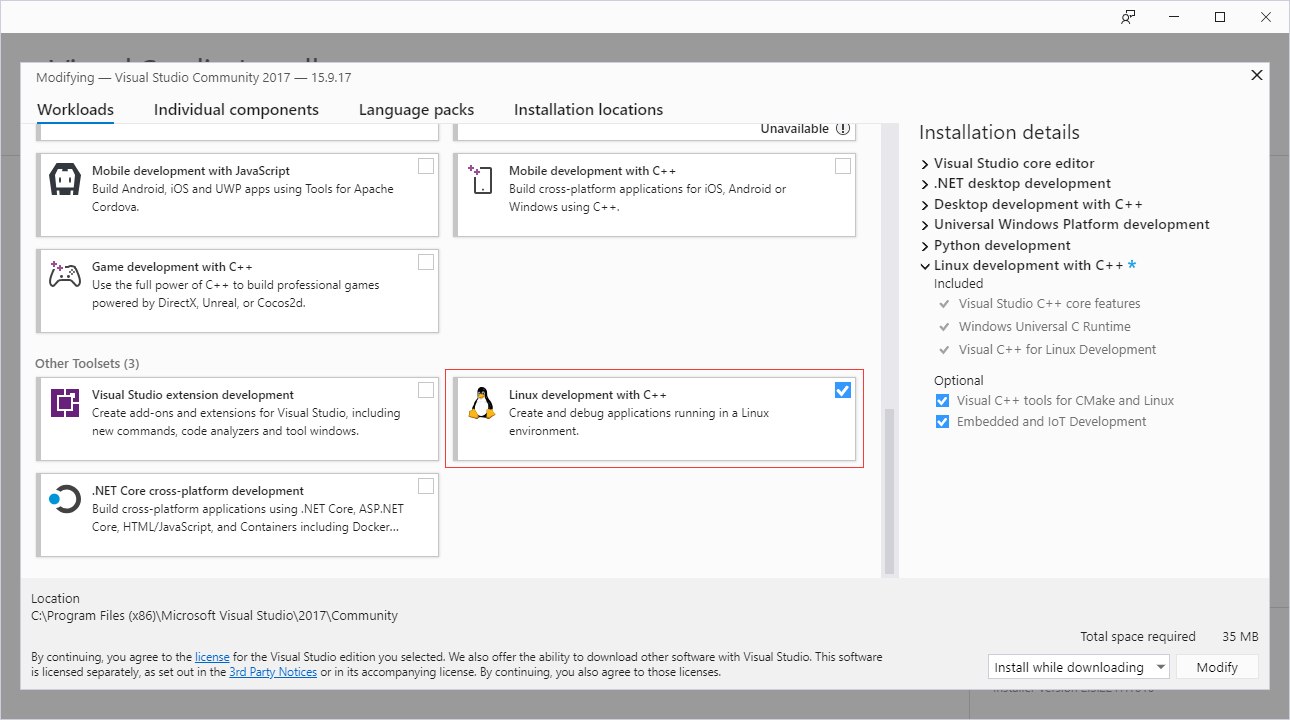
Slected 'linux development with C++' lable on visual studio installer.
Create a new linux project
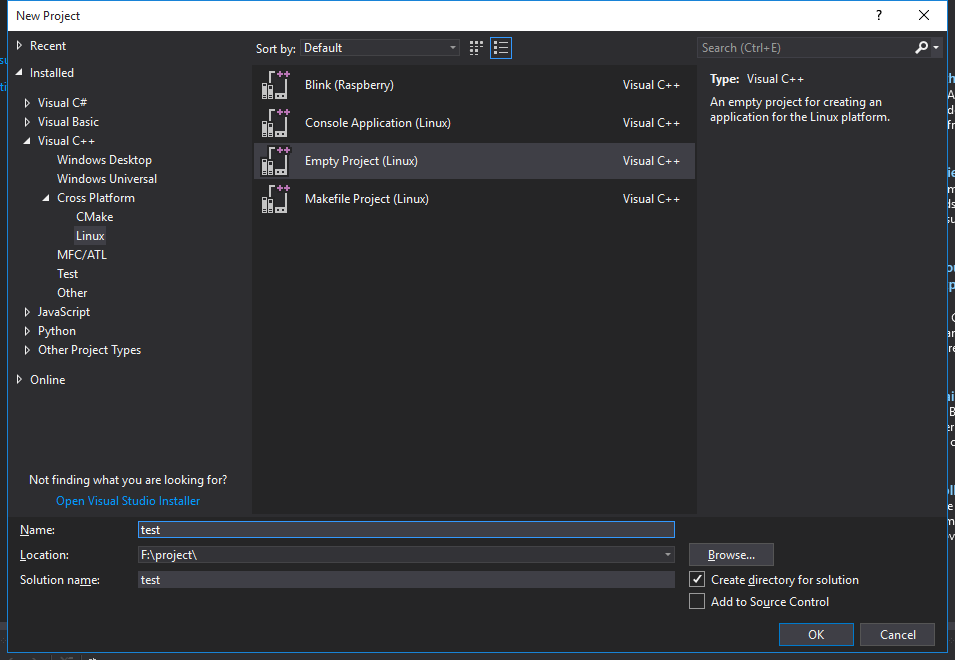
Launch visual studio and click File->New->Project and then select Visual C++->Cross Platform->Empty Project such as:
Configure for new project and test it
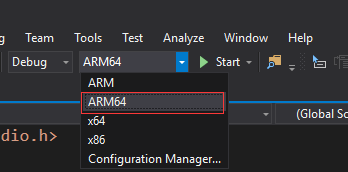
Select solution platforms to ARM 64:
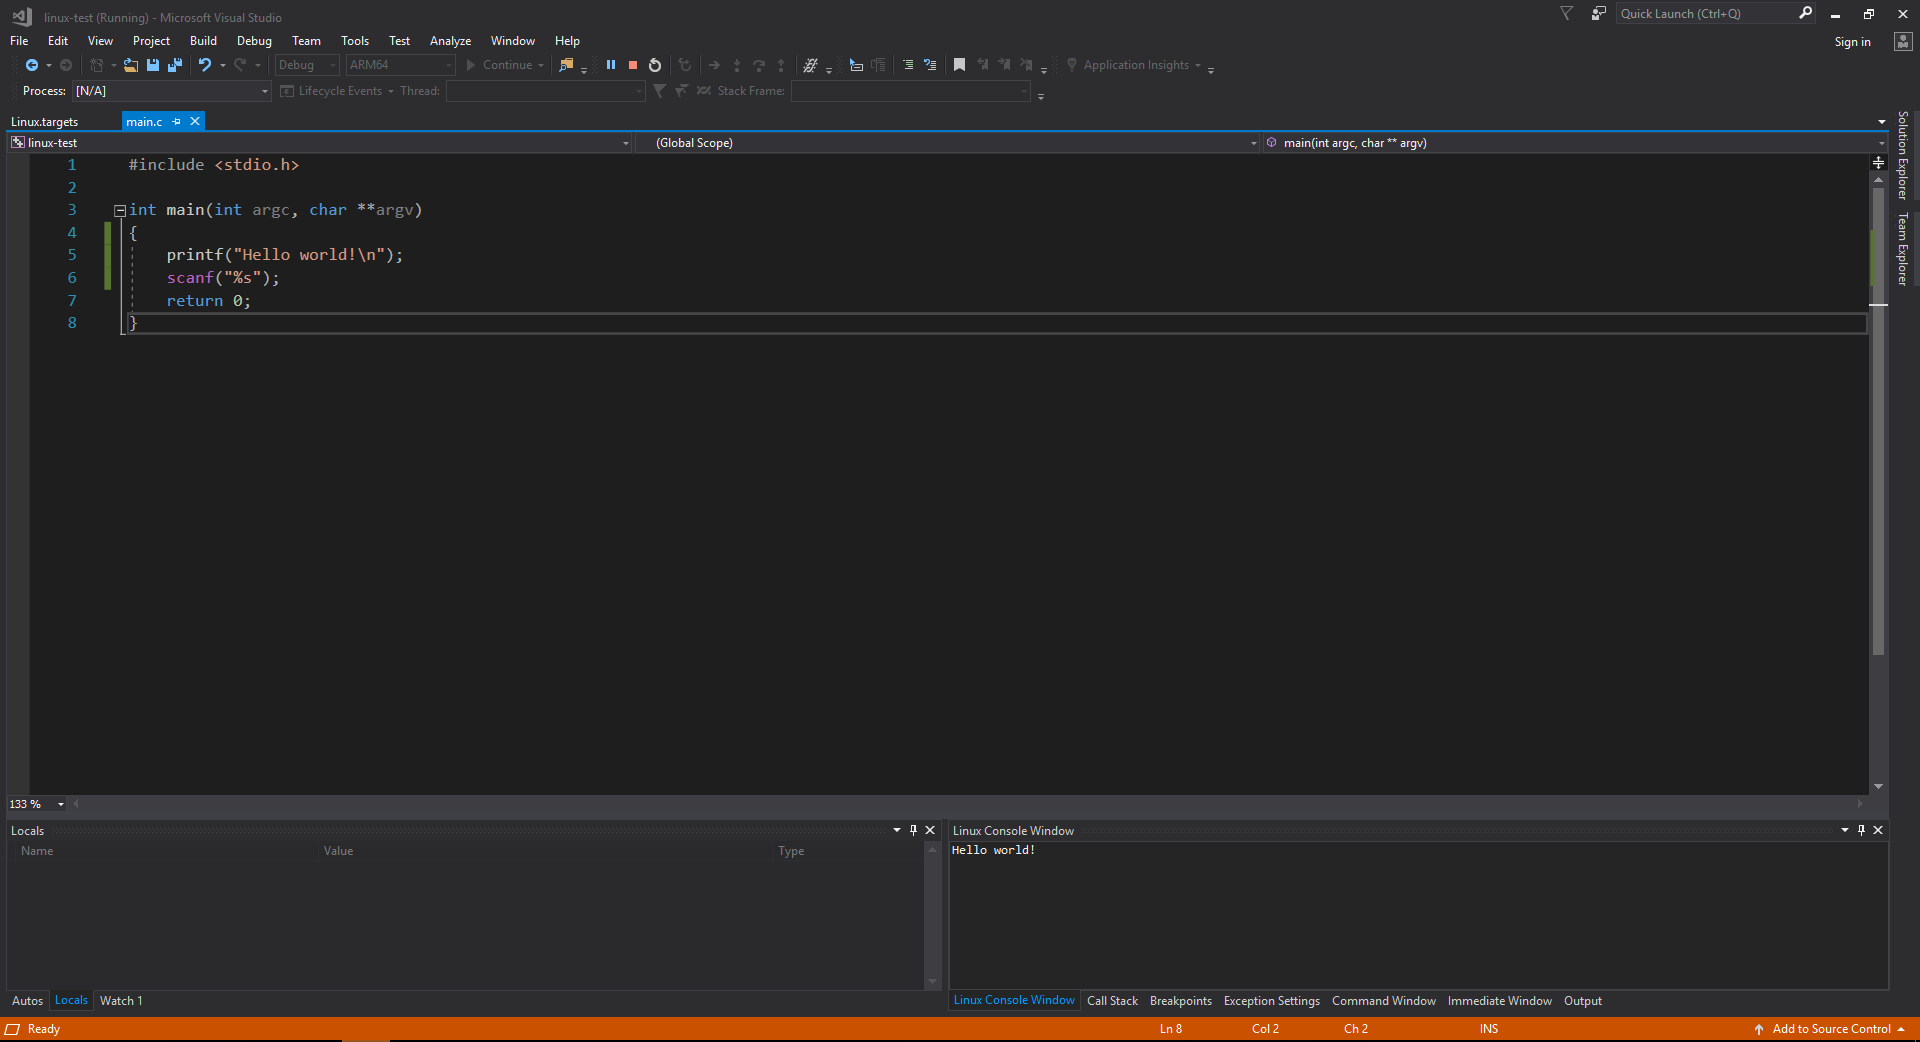
Add a C hello world file:
  #include <stdio.h>
  int main(int argc, char **argv)
  {
          printf("Hello world!\n");
          scanf("%s");
          return 0;
  }
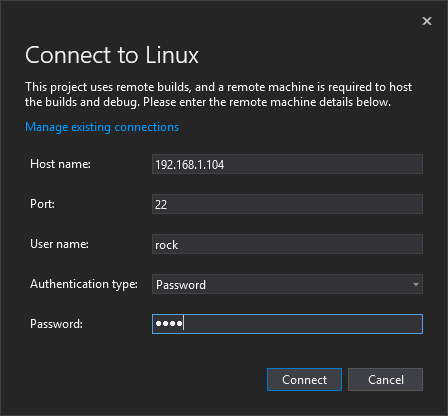
Click 'Start' button and then configue your ROCK Pi connect configuration and run hello world on your ROCK Pi:

