Rock4/hardware/M2 extend
Contents
[hide]ROCK 4 > Hardware > M.2 extend board
Introduction
The M.2 extend board is for easier mount of the M.2 SSD. It has the following features:
- Full four lanes PCIE 2.0
- M.2 M key connector, support M key SSD and B&M key SSD
- Support 2280/2260/2242 M.2 SSD
- Can be mounted either on top of ROCK PI 4 or at the bottom of ROCK PI 4
Difference between V1.2 and V1.4
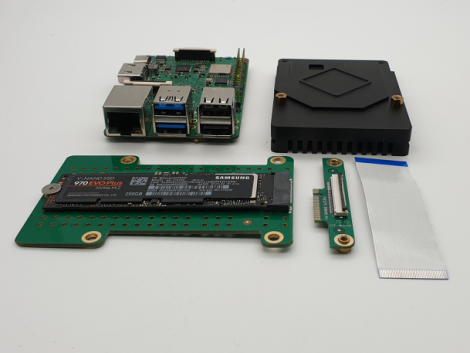
M.2 extend board V1.2 is the first MP/public version of the board. The M.2 extension board V1.4 has a lot of improvements to the previous version. The reduction of length, made it possible to move the FPC connector on the M.2 Extension board to the bottom side of the PCB. That is why there is also a new ribbon cable included in the package. The new FPC ribbon cable has contacts on opposite sides of the cable.
⚠️Warning: Please don't mix the ribbon cable of V1.2 and V1.4, they are reversed pin order. It may burn your ssd.
How to assemble the M.2 board(V1.4)
Step 1
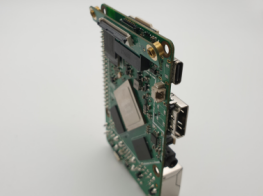
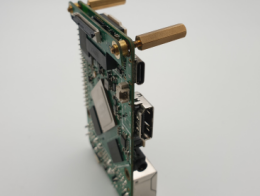
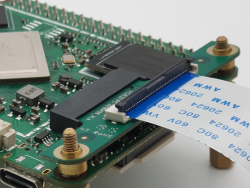
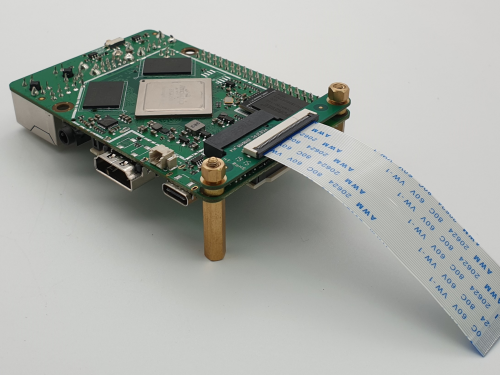
Insert the small pcb which comes with the M.2 extension board and insert it into the M.2 connector on the bottom side of the ROCK PI4. Turn the board around and use the copper bolts to fix the mini pcb.
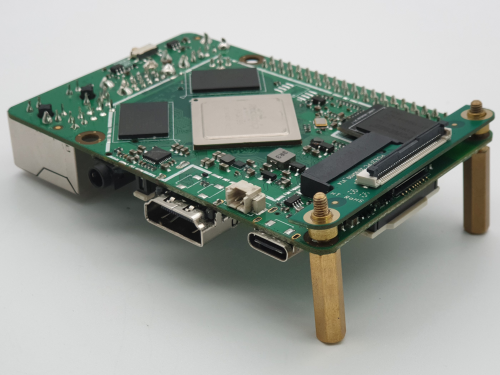
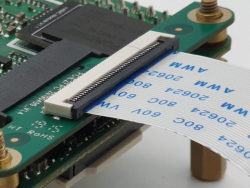
Now open the FPC connector in lifting the black part in the center up.
Step 2
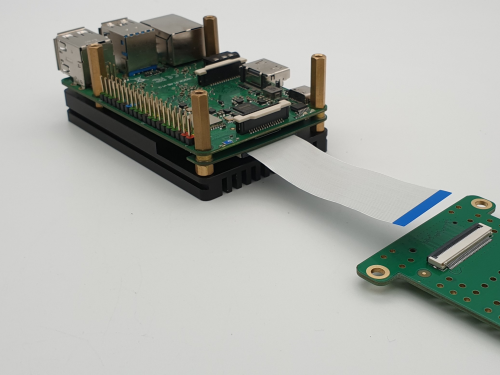
Insert the FPC ribbon cable with the blue side up into the FPC connector and lock it in closing the black part in the center. You can hear a “click” when the connector is closed.
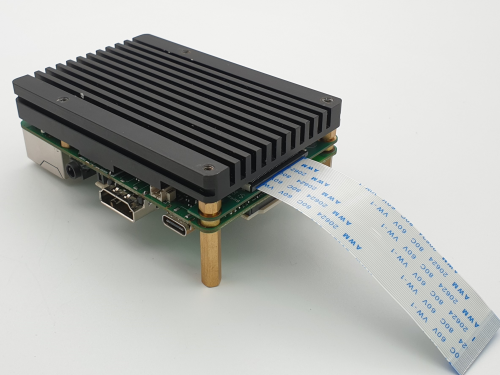
Now add the copper spacers on top of the bolts and and put the heatsink on the top.
Turn the board around and screw the bolts into the heatsink to finalize the mounting of the board.
Step 3
Now take the M.2 Extension board and put it with the FPC connector on top next to the already mounted ROCK PI4.
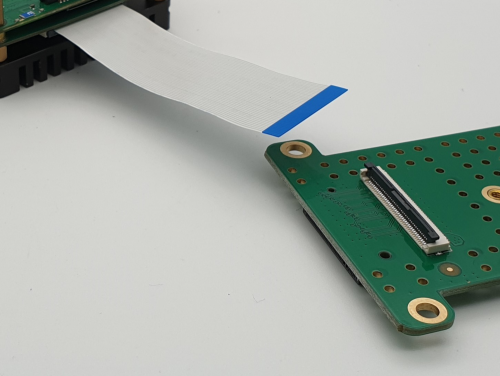
Open the FPC connector like before in lifting the black plastic part in the center.
Insert the FPC ribbon cable and lock the connector in closing the black center part.
Step 4
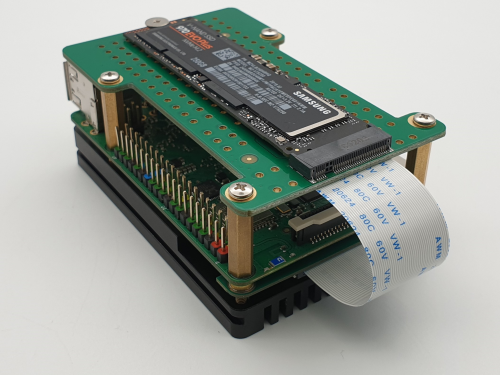
Finalize the assembly in mounting the M.2 Extension board on top or on the bottom of the heatsink.
🔔NOTE – by default the FPC ribbon cable contacts should always face the PCB.
Dimension
- 2D file for M.2 extend board
Pinout
- Schematic of M.2 extend board
Troubleshooting
If you have issue with the instructions, start a new post on the forum. https://forum.radxa.com/c/hardware

