RockpiX/install/Ubuntu
ROCK Pi X > Install > Install Ubuntu to ROCK Pi X (eMMC)
Contents
Introduction
ROCK Pi X is X86 PC architecture, which means it can run a lot Linux distributions. This page will describe how to install Ubuntu for ROCK Pi X step by step.
Prepare
- Ubuntu ISO image - You need a copy of the Ubuntu ISO image, which can be downloaded from Ubuntu.com. Make sure to download the amd64 version.
- USB drive - We need this as the installation media
- ROCK Pi X - It doesn't matter if the board has OS running already or not, as long as we have proper BIOS installed, we can install a new OS
- Keyboard/mouse and HDMI monitor for ROCK Pi X - We need to operate on ROCK Pi X
- Another PC(HOST PC) running Windows/Linux/macOS - We need to make bootable USB drive from iso on this PC
Step 1: Make a bootable USB drive from Ubuntu ISO
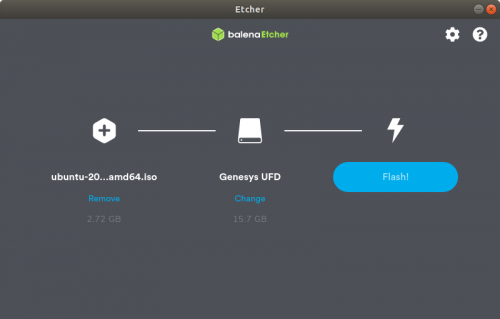
We use etcher to make a boot drive on Windows/Linux/macOS:
1. Download and install Etcher
2. Select your USB drive and iso image
3.Click Flash! and wait for complete
Step 2: Boot from USB drive
1. Plug the USB drive on ROCK Pi X, if your USB drive is USB 3.0, plug it to the ROCK Pi X USB 3.0 port is preferred.
2. Plug keyboard and HDMI monitor on ROCK Pi X
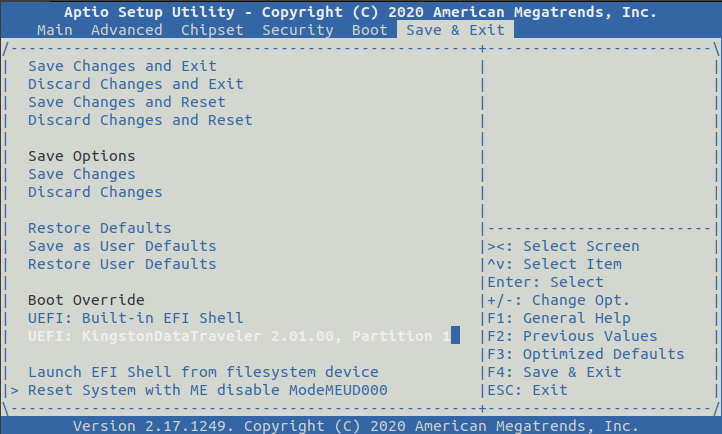
3. Power on the ROCK Pi X, keep pressing DEL on the keyboard until the BIOS screen is on HDMI
4. Go the last tab [Save & Exit] -> [Boot Override] of BIOS menu, select your USB drive and press Enter to boot.
Step 3: Start installation
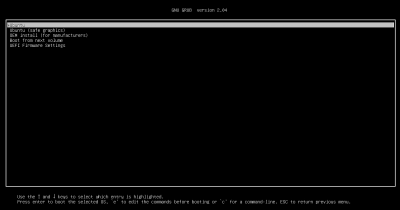
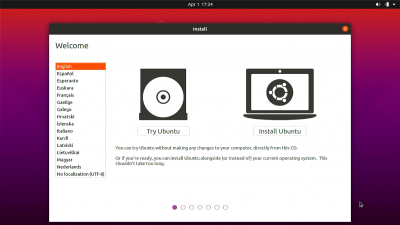
Wait for some seconds and you see the familiar Ubuntu installation screen, now you are ready to go.
FAQs
Troubleshooting
- Post your issue at the forum: https://forum.radxa.com/c/rockpiX/tmux


