Rockpi4/install/microSD/es es
ROCK Pi 4 > Instalación > Instalar en la microSDInstall on microSD
Contents
[hide]Método de la tarjeta uSD
El método de la tarjeta uSD te permite colocar una tarjeta microSD en una ROCK Pi 4 y ejecutar el Sistema Operativo de tu gusto.
Este método necesita el siguiente hardware
- Placa ROCK Pi 4 con alimentación
- Un ordenador con Linux/Mac/Windows
- Una tarjeta MicroSD con al menos 8GB de espacio
- Un teclado y ratón USB (no es necesario para realizar la grabación)
- Un Monitor con conector HDMI grande (no es necesario para realizar la grabación)
- Un cable Ethernet (no es necesario para realizar la grabación)
Ve a Descargas para conseguir un Sistema Operativo
Si tu ordenador utiliza...
El ordenador puede ser Linux, Mac, Windows. Pero esta solución no soporta imágenes en formato xxx-rkupdate.img.
Paso 1: Asegurarse que la aplicación "etcher" esta instalada en el ordenador
Descarga la herramienta de grabación flash, "etcher", de Descargas. Elige la versión correcta para tu ordenador. Nosotros usamos Ubuntu 16.04.
Después de descargar el paquete, descomprímelo.
Paso 2: Descargas la imagen del Sistema Operativo a grabar
Para la ROCK Pi 4, hay imágenes de los Sistemas Operativos Android y Debian. Los nombres de las imágenes incluyen android y debian. Y todos los nombres de imágenes de Sistemas Operativos se marcan como xxx_gpt.img.
Paso 3: Grabar la imagen flash del Sistema Operativo en la tarjeta uSD
1. Inserta la tarjeta uSD en el lector de tarjetas uSD del ordenador.
2. Ejecuta la aplicación "etcher", en Ubuntu 16.04:
$ /bin/bash etcher-etcher-electron-1.4.5-x86_64.AppImage
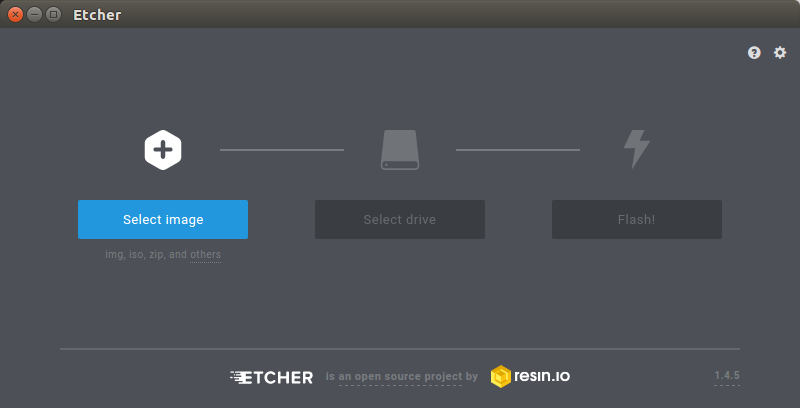
3. En la ventana de "etcher", hacemos clic en el botón Seleccionar imagen.
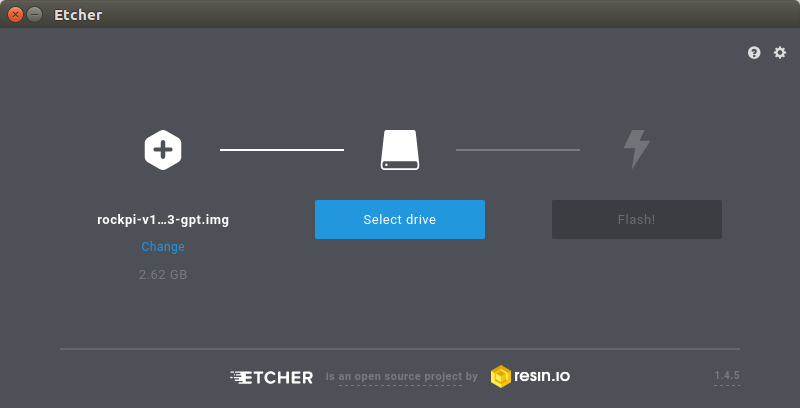
4. En la ventana de "etcher", hacemos clic en Seleccionar Dispositivo.
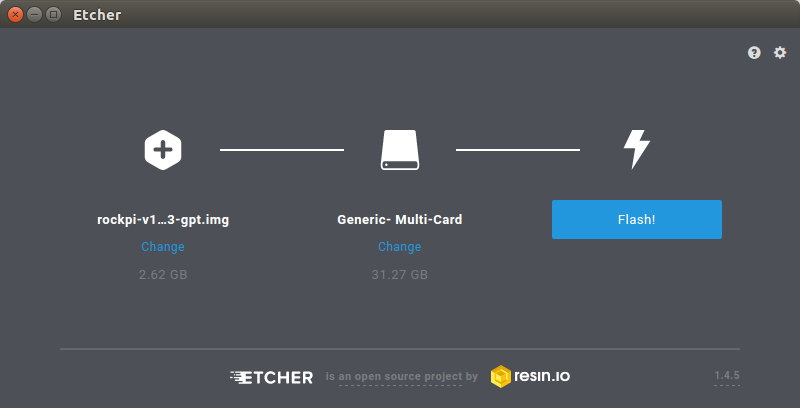
5. En la ventana de "etcher", hacermos clic en el botón Grabar flash.
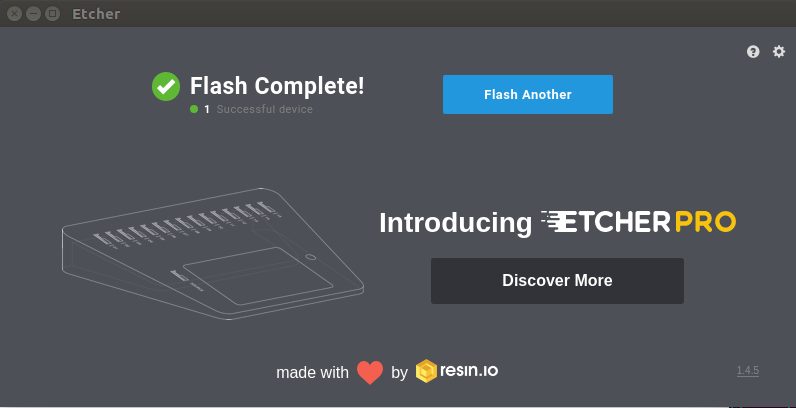
6. En la ventana de "etcher", se mostrará Grabación flash completada.
7. Inserta la tarjeta uSD en el zócalo de placa ROCK Pi 4.
8. Conecta el ROCK Pi 4 a tu monitor mediante un cable HDMI. Asegúrate que el monitor tenga seleccionada como fuente de entrada el puerto HDMI correcto.
9. Conecta el teclado y el ratón USB.
10. Conecta la alimentación a la ROCK Pi 4. La placa se iniciará inmediatamente.
Step1: Requisitos
This page describe how to download and install the image on a microSD card and boot on ROCK Pi 4. You need at least the following.
- ROCK Pi 4 board with power supply
- a microSD card, larger than 8GB, class 10 or better
- a microSD card reader, either a USB card reader or the SD card reader on laptop
- a PC/laptop running Windows or Linux or MacOS
Step 2: Download necessary tools and image
- Etcher is the tool we use to write image. Download the right Etcher for your PC from Rockpi4/downloads page and install it. Check [Etcher website] for more info about Etcher.
- Choose the image you want to install from Rockpi4/downloads page and unzip it. The unzipped image name is like below:
rockpi4_debian_stretch_lxde_armhf_20181105_2120-gpt.img
We will use it for the writing.
Step 3: Write the image to microSD card
1. Insert the uSD Card into uSD Card Reader, which connects to host computer.
2. Run the application, for example, by executing the command on Ubuntu 16.04:
$ /bin/bash etcher-etcher-electron-1.4.5-x86_64.AppImage
3. In the etcher window, we click button Select image.
4. In the etcher window, we click button Select Drive.
5. In the etcher window, we click button Flash.
6. In the etcher window, it shows us Flash Complete!
Done! Now you have successfully installed the OS image on microSD card.


